Volume 5: Model Porting
Estimated time: 30–45 minutes Goal: Learn to convert, upload, and integrate a third-party model into the system — completing a full loop from model porting to scenario task integration to result verification Prerequisites: Completed CosmoEdge Scenario Task Orchestration; understand basic pipeline orchestration concepts Extra environment needed: A computer with Docker installed for model conversion
CosmoEdge Scenario Task Orchestration covers "how to organize existing capabilities." This volume covers "how to bring in new ones." In other words:
- CosmoEdge Scenario Task Orchestration teaches you to orchestrate pipelines
- CosmoEdge Third-Party Model Porting teaches you to introduce third-party models
After completing this volume, you'll be able to:
- Convert an ONNX model to a device-runnable
bmodel - Upload the model to CosmoEdge
- Configure model metadata and verify the model works
- Integrate the third-party model into a new scenario task
Learning Path
Prepare the model
  ↓
Convert inside Docker
  ↓
Upload to the system and fill in metadata
  ↓
Validate with images
  ↓
Integrate into a scenario task and run end-to-end testing
Chapter 1: Prepare the Third-Party Model
This volume uses a publicly available VisDrone detection model as its example.
Model Repository Link
We chose it for three reasons:
- It's public and reusable — perfect for a tutorial example.
- It's a standard object detection task, making results easy to verify.
- Its categories differ from the built-in scenarios, proving the platform supports more than just bundled models.
1.1 Supported Input Formats
| Format | Notes |
|---|---|
| ONNX | Recommended — best compatibility |
PyTorch .pt | Must be exported to ONNX first |
TensorFlow .pb | Must be exported to ONNX first |
Recommendation
For your first porting attempt, go with ONNX. This keeps the focus on "model conversion and integration" rather than framework export quirks.
1.2 Example Files for This Volume
Prepare an ONNX model file, for example:
visdrone_yolov8s.onnxPlace it in a local directory, such as:
/home/user/models/Note
If you substitute your own model later, you'll need to update the filenames, input dimensions, and output names in the commands below accordingly.
Chapter 2: Docker Environment Setup
Model conversion uses an official Docker image provided by Sophon (SOPHGO).
2.1 Install Docker
| Operating System | Installation Method |
|---|---|
| Ubuntu / Debian | sudo apt-get install docker.io |
| CentOS | sudo yum install docker |
| Windows | InstallDocker Desktop |
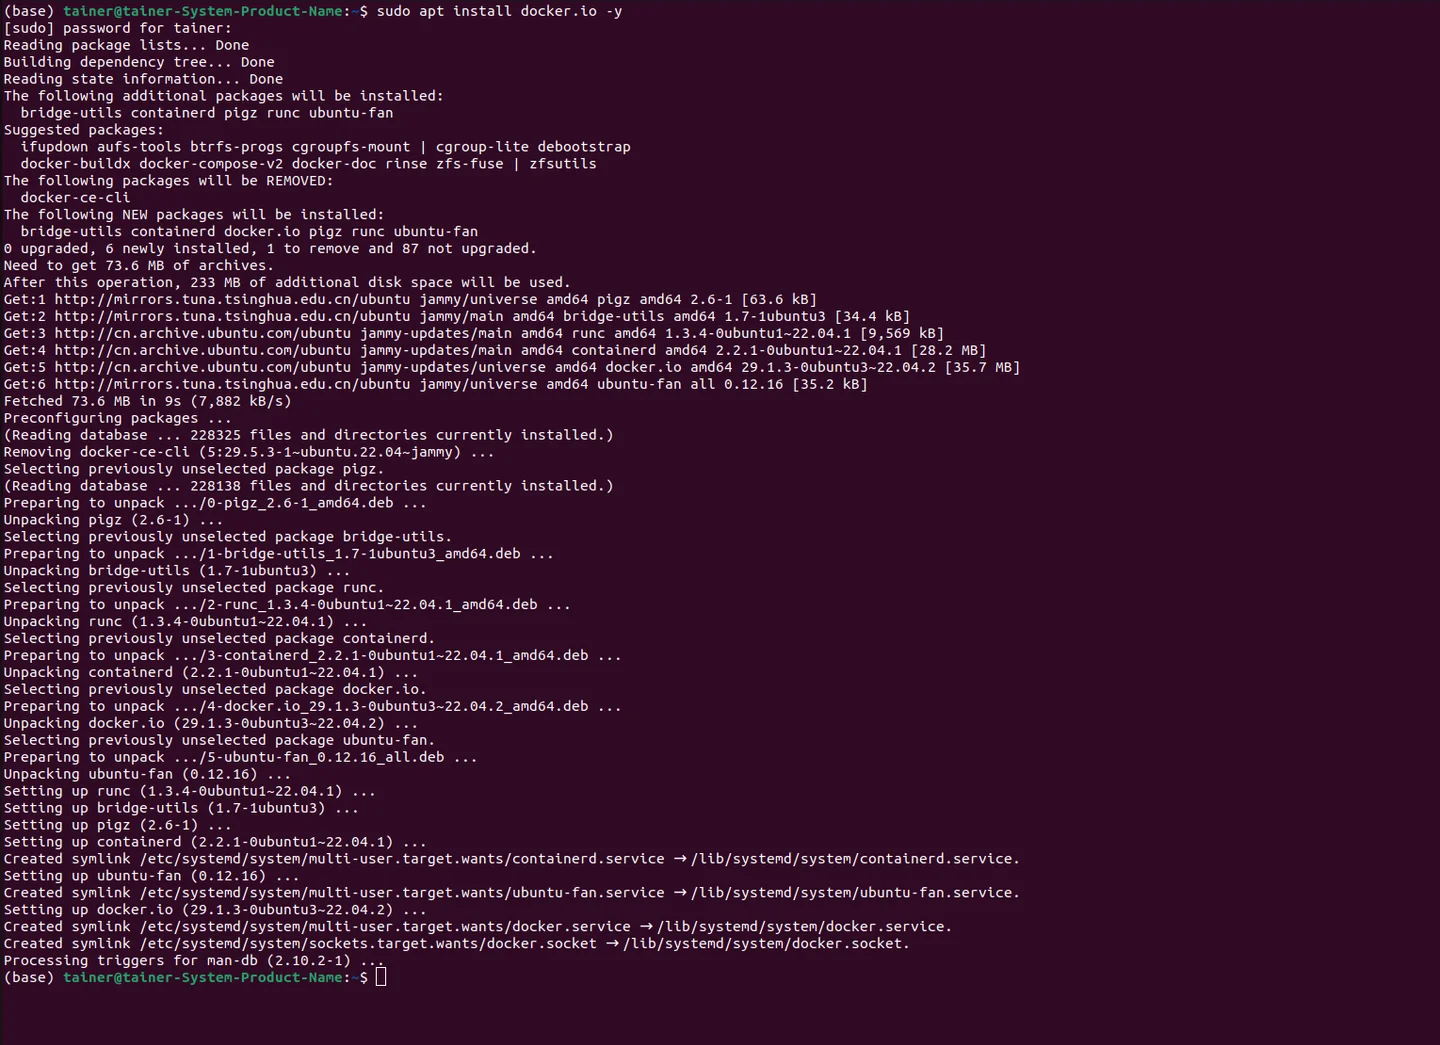
Verify the installation:
docker --version
## Expected output: Docker version 2x.x.x
Add your user to the docker group:
sudo gpasswd -a USER dockerReplace USER with your actual username.
Update the group:
newgrp docker
2.2 Pull the Image
Download the image archive:
wget https://sophon-file.sophon.cn/sophon-prod-s3/drive/24/06/14/12/sophgo-tpuc_dev-v3.2_191a433358ad.tar.gz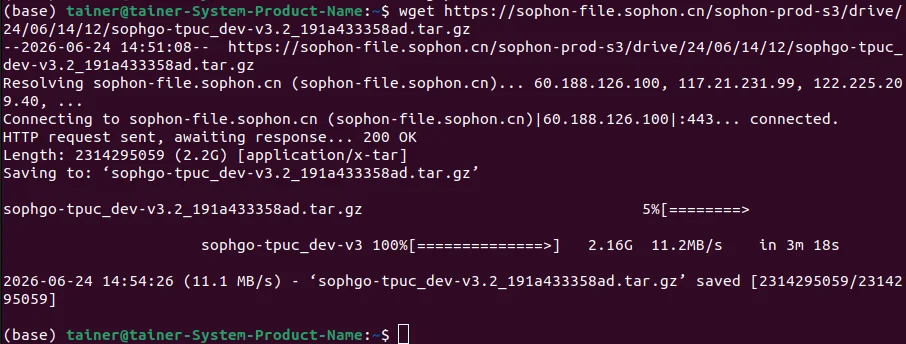
Load the image:
docker load -i sophgo-tpuc_dev-v3.2_191a433358ad.tar.gz

2.3 Useful Docker Commands
| Command | Purpose |
|---|---|
docker images | List local images |
docker run -it -v /local/path:/container/path sophgo/tpuc_dev:latest bash | Start a container with a mounted directory |
exit | Exit the container |
Chapter 3: Model Conversion
Converting an ONNX model to a device-runnable bmodel takes just two core steps:
model_transformmodel_deploy
3.1 Start the Container
docker run -it -v /home/user/models:/workspace sophgo/tpuc_dev:v3.2 bashThis command:
- Starts the official conversion environment
- Mounts your local model directory to
/workspaceinside the container

3.2 Install Conversion Dependencies
pip install tpu_mlir -i https://mirrors.ustc.edu.cn/pypi/simple/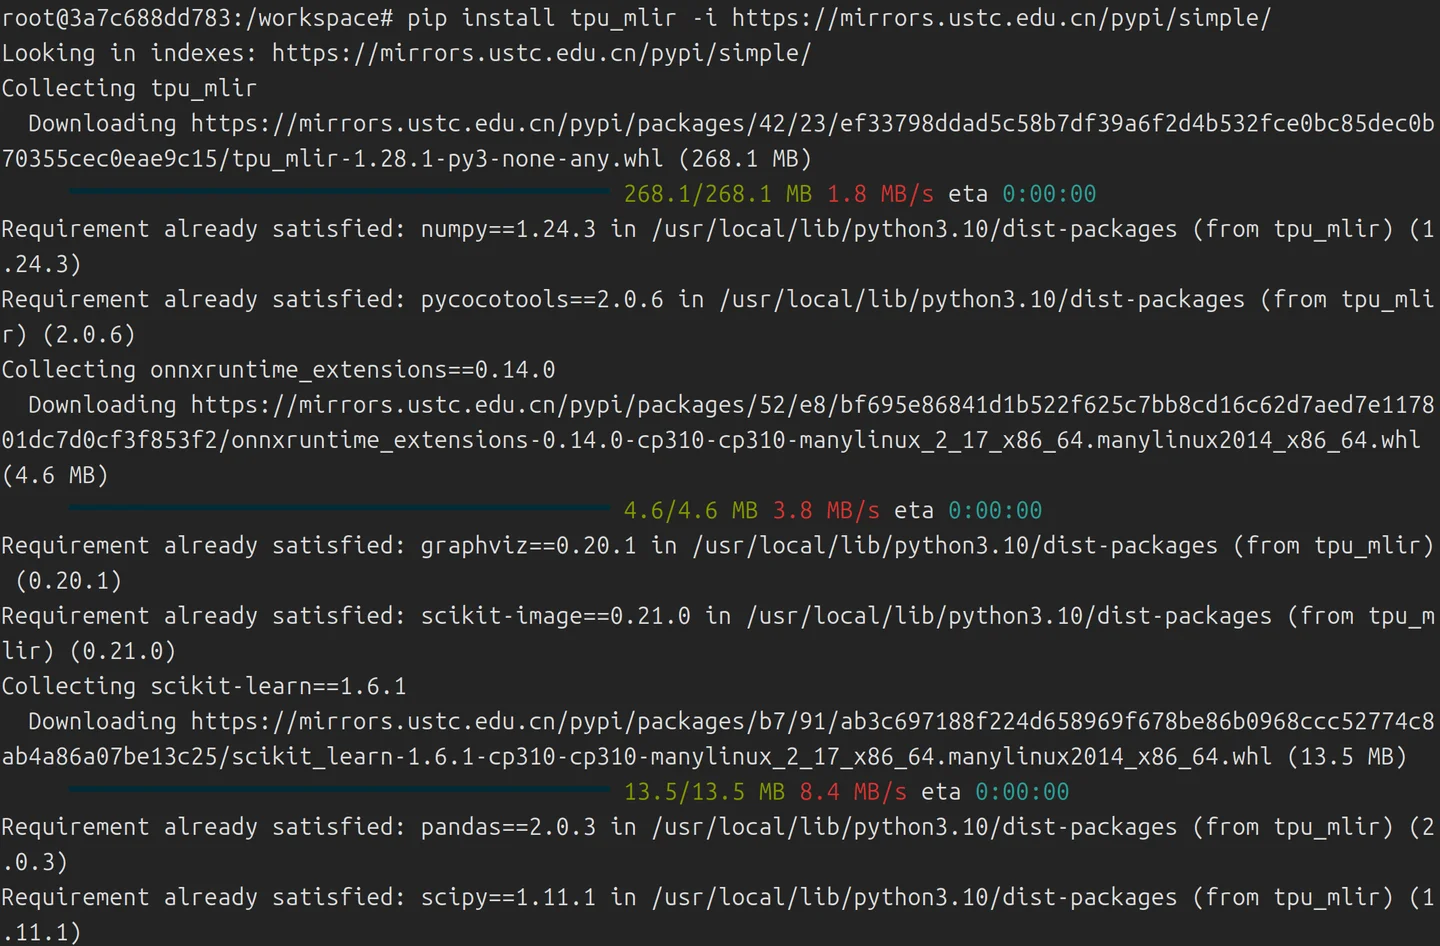
3.3 Step 1: Convert to MLIR
model_transform \
  --model_name visdrone_yolov8s \
  --model_def /workspace/visdrone_yolov8s.onnx \
  --input_shapes [[1,3,640,640]] \
  --pixel_format rgb \
  --output_names output0 \
  --mlir visdrone.mlir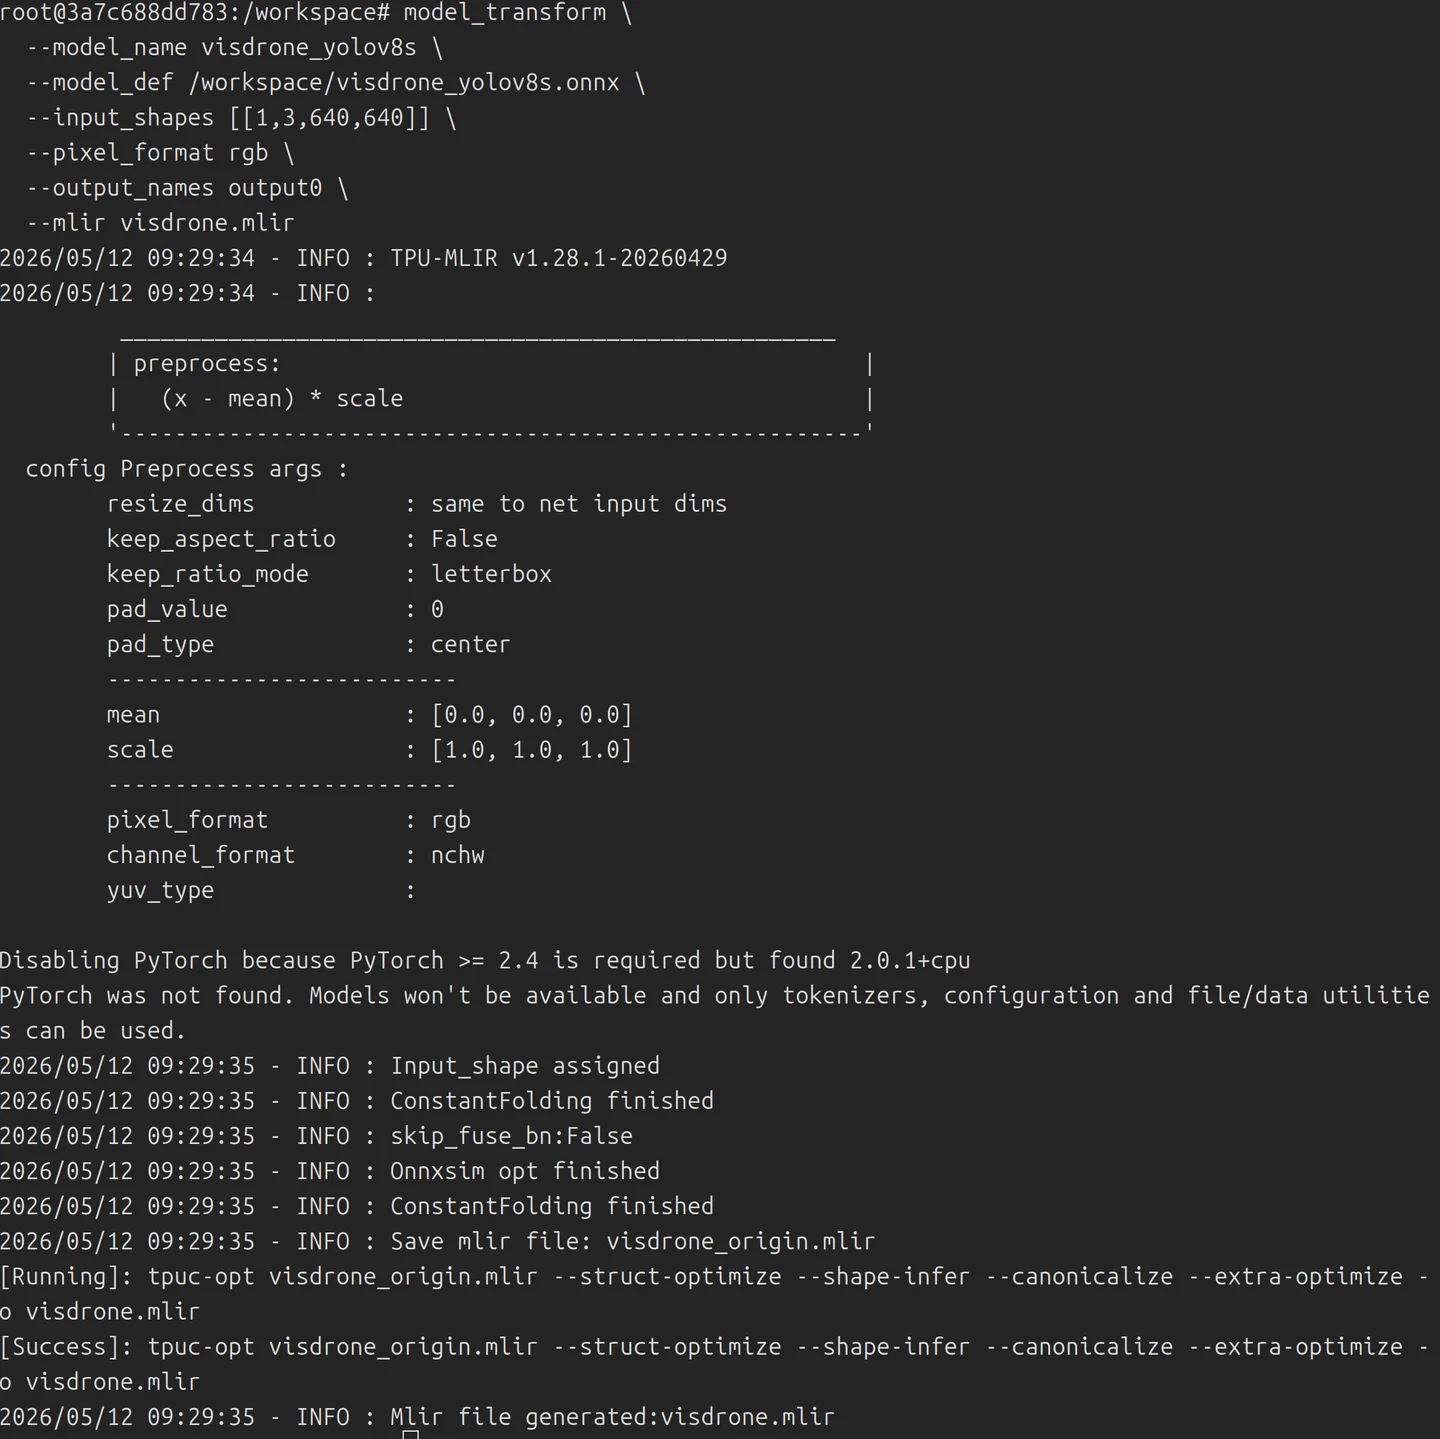

3.4 Step 2: Convert to bmodel
model_deploy \
  --mlir visdrone.mlir \
  --quantize F16 \
  --chip bm1688 \
  --model visdrone_yolov8s_f16.bmodel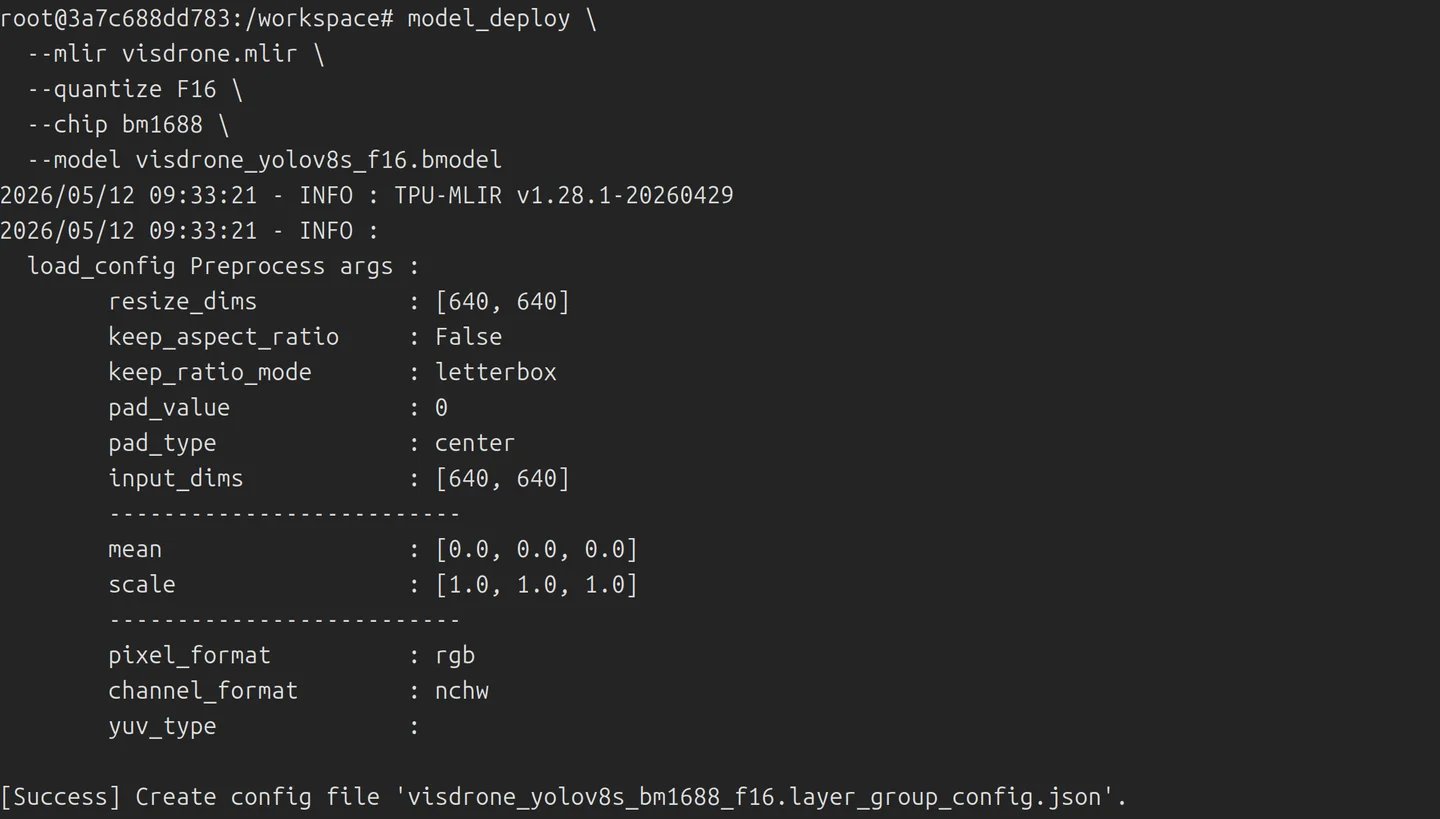
After conversion, the /workspace directory will contain:
visdrone_yolov8s_f16.bmodel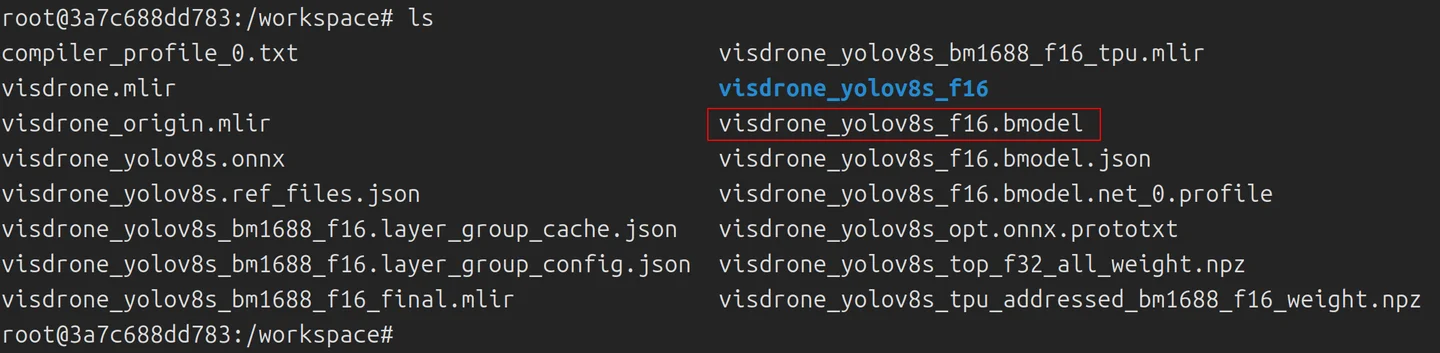
3.4 Three Key Points to Watch
--input_shapesmust match the model's training/export configuration.--pixel_formatmust match the preprocessing used during training.--output_namesmust match the actual output tensor names from the model export.
Chapter 4: Upload the Model to CosmoEdge
4.1 Open the Model Repository
- Navigate to Model Repository.
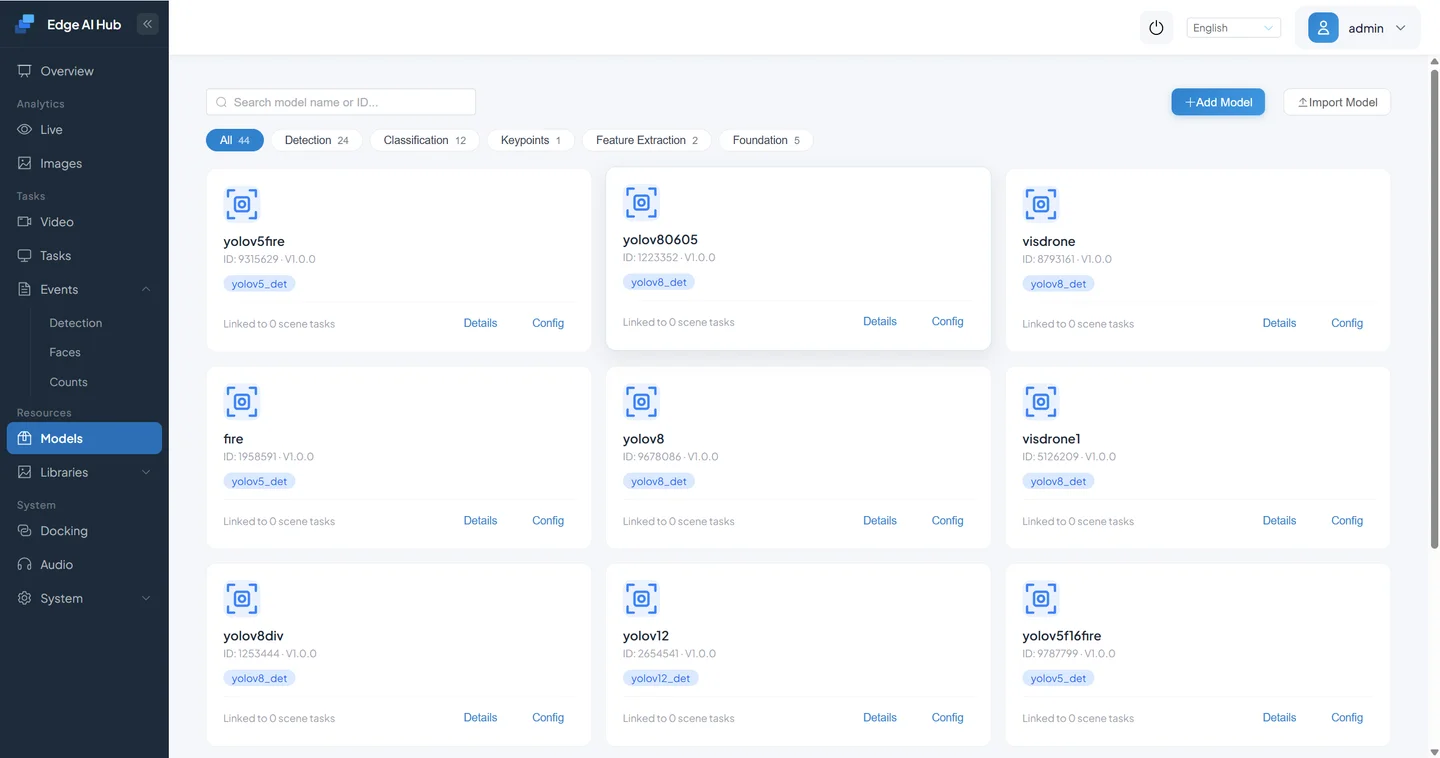
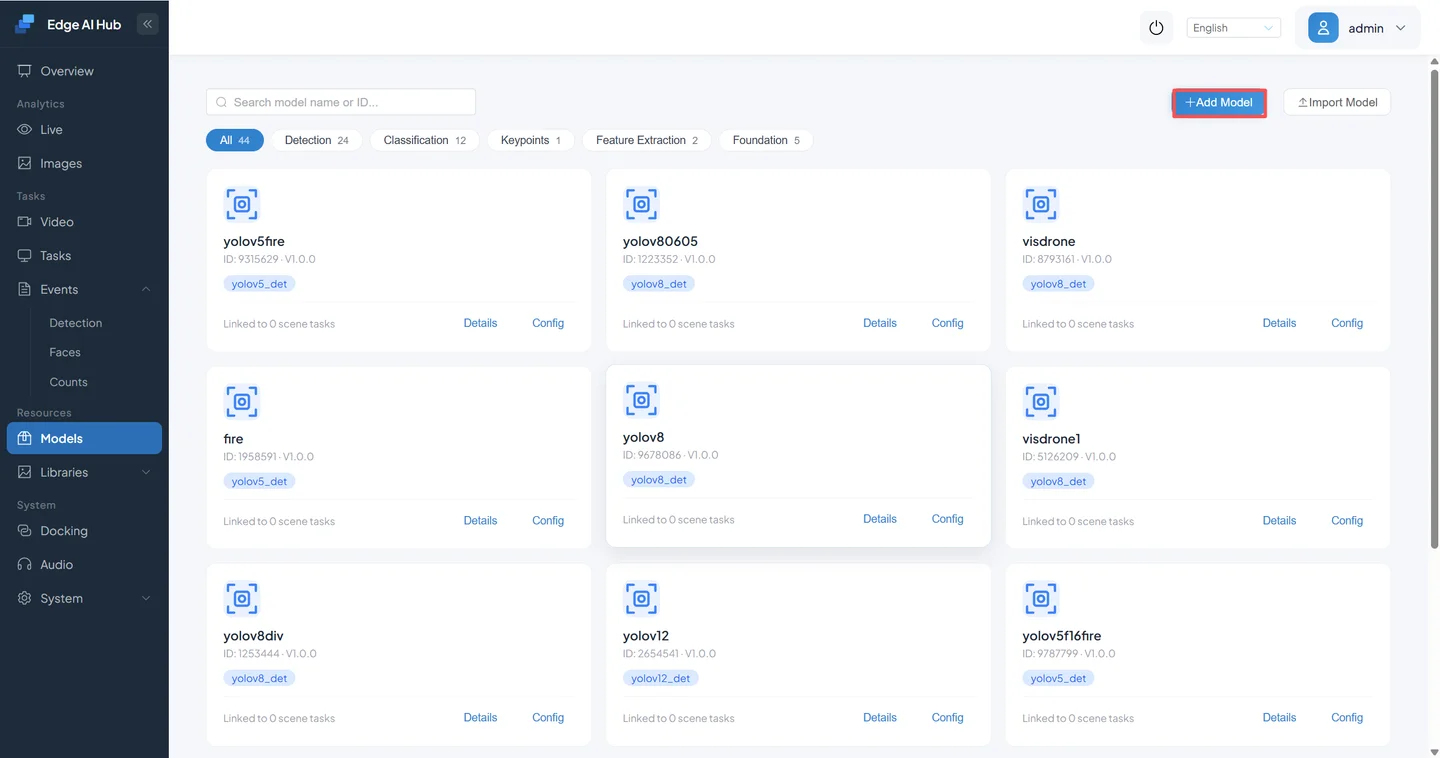
- Click Add Model.
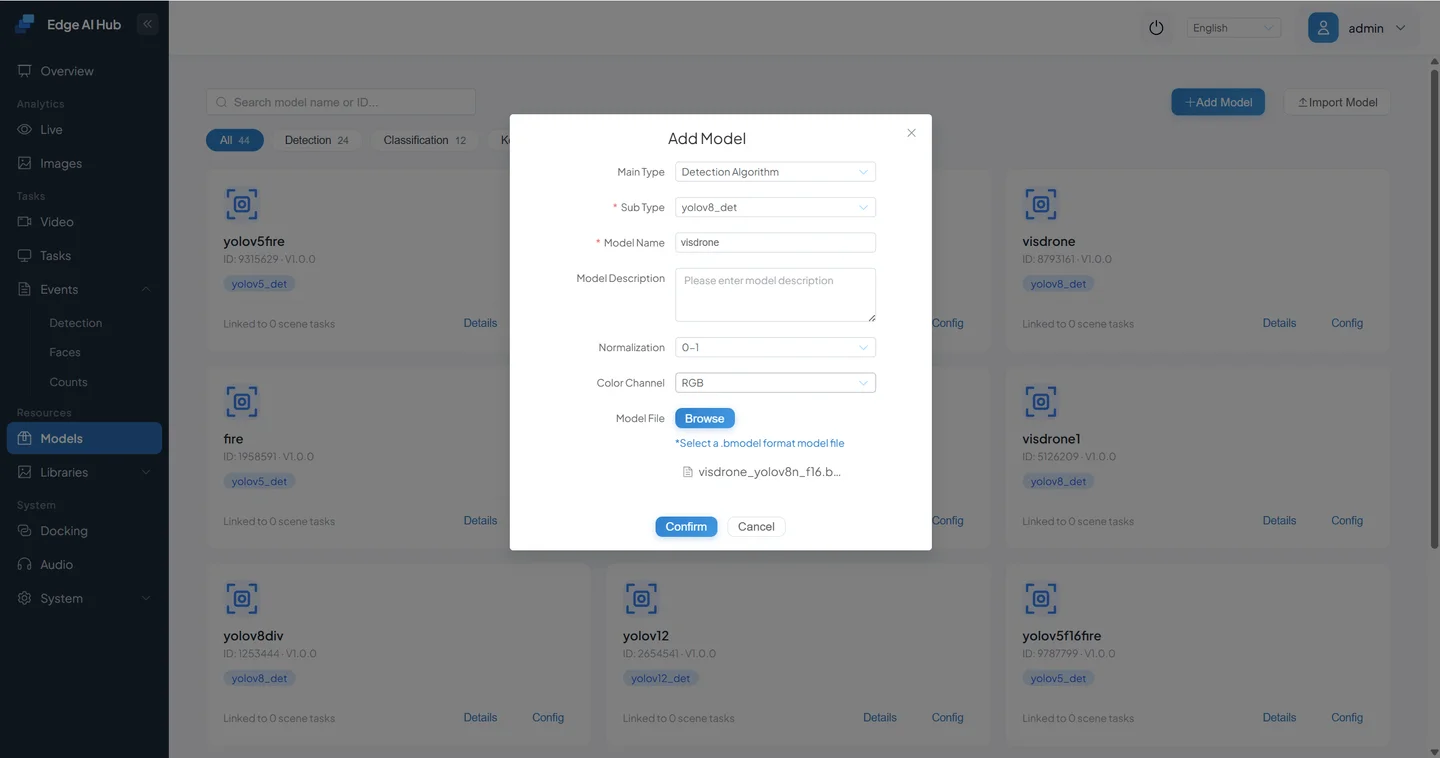
Fill in the model information:
| Field | Example Value | Notes |
|---|---|---|
| Primary Type | Detection Algorithm | |
| Sub Type | yolov8_det | Matches the model's YOLO version |
| Model Name | VisDrone Drone Detection | For easy identification |
| Upload File | visdrone_yolov8s_f16.bmodel | The converted model file |
| Normalization | 0–1 | |
| Color Channel | RGB | |
| Class Labels | pedestrian, people, bicycle, car, van, truck, tricycle, awning-tricycle, bus, motor | For category display and mapping |
Click OK to save.
4.2 Post-Upload Checklist
After uploading, verify:
- The model appears in the Model Repository list.
- Status shows as normal.
- Name, type, input dimensions, and labels are all correct.

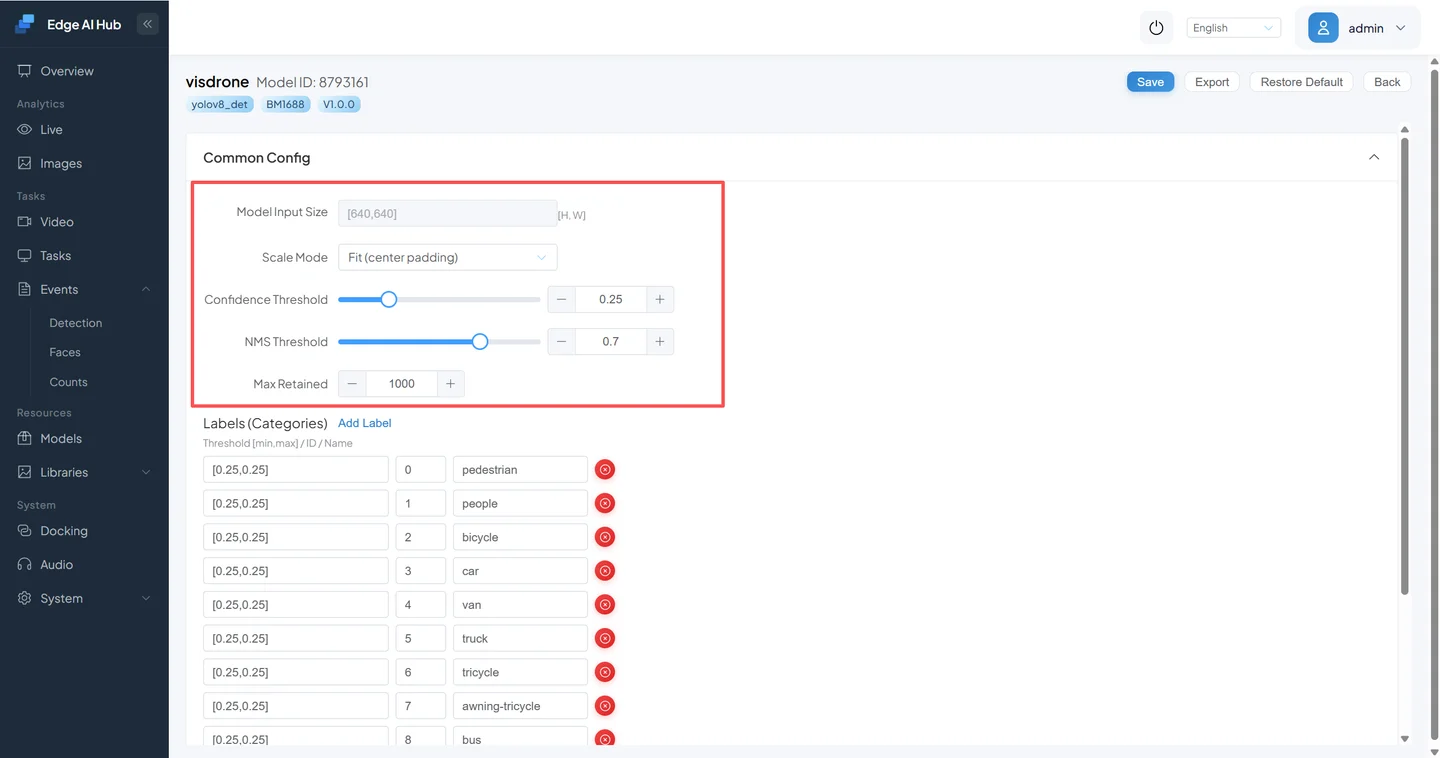
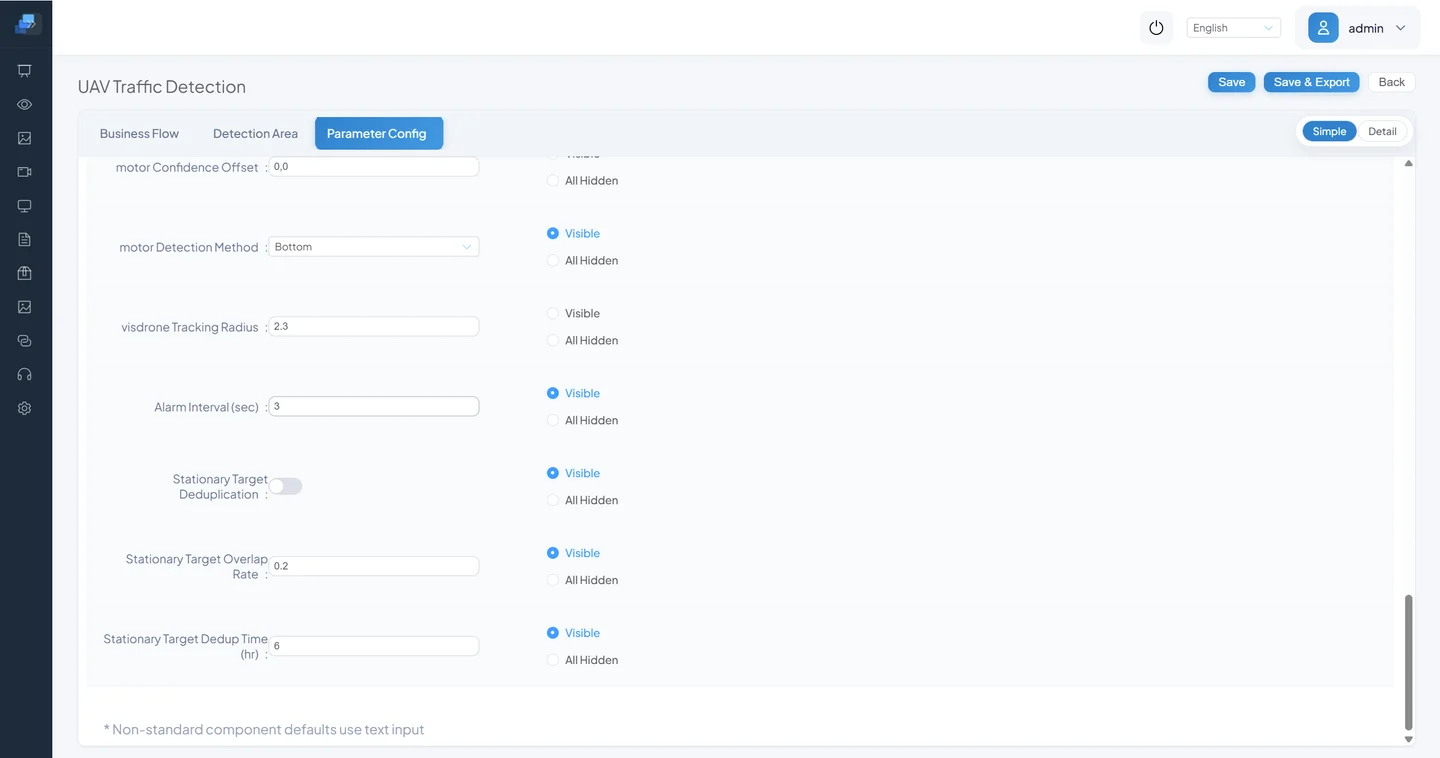
Edit configuration — input dimensions, confidence thresholds, and other basic parameters:
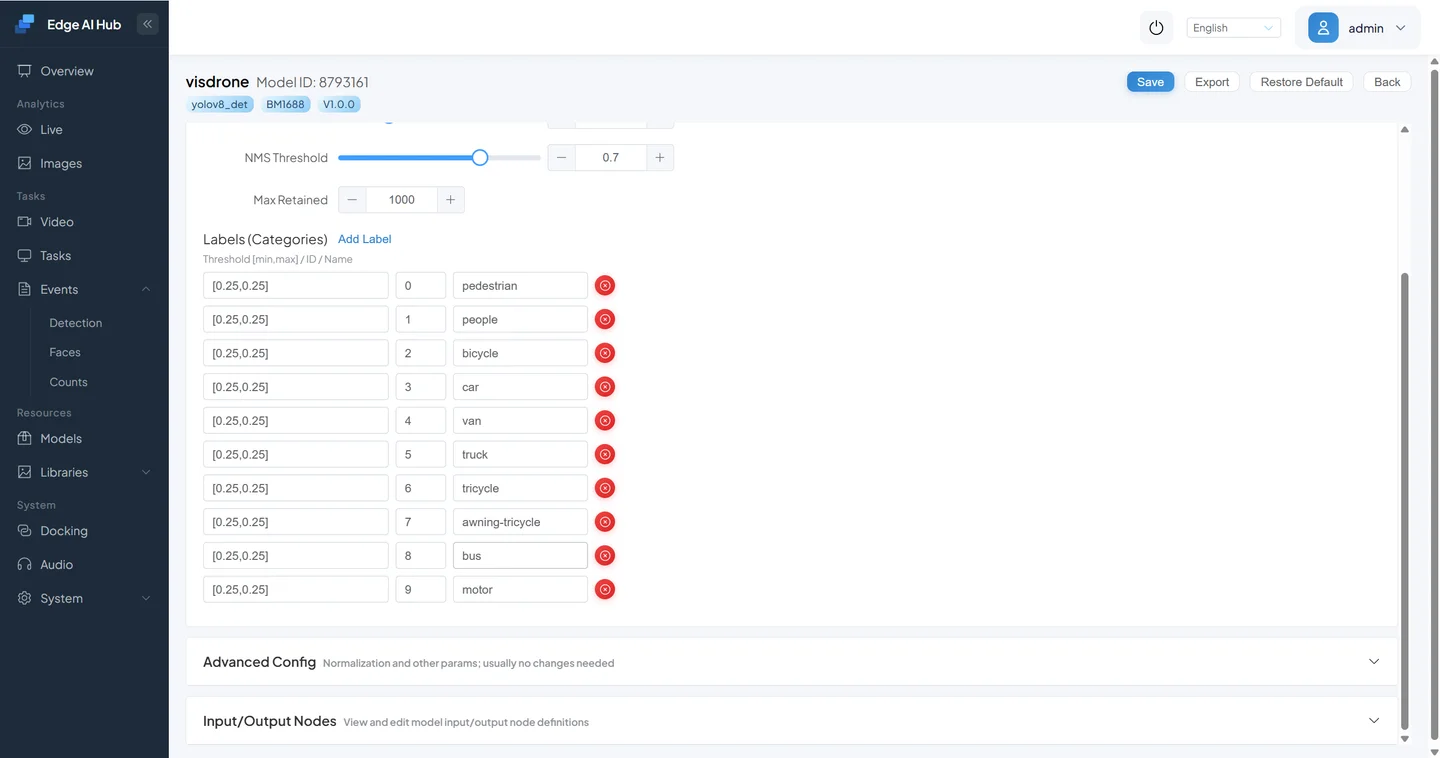
Edit class information:
Accurate model metadata is critical. Errors here are difficult to debug later.
Chapter 5: Validate the Model with Image Testing
Before integrating the model into a scenario task pipeline, run a lightweight validation first.
5.1 Prepare Test Images
Gather several images that match the model's target domain — for example, aerial drone-view photographs.
5.2 Create an Image Validation Task
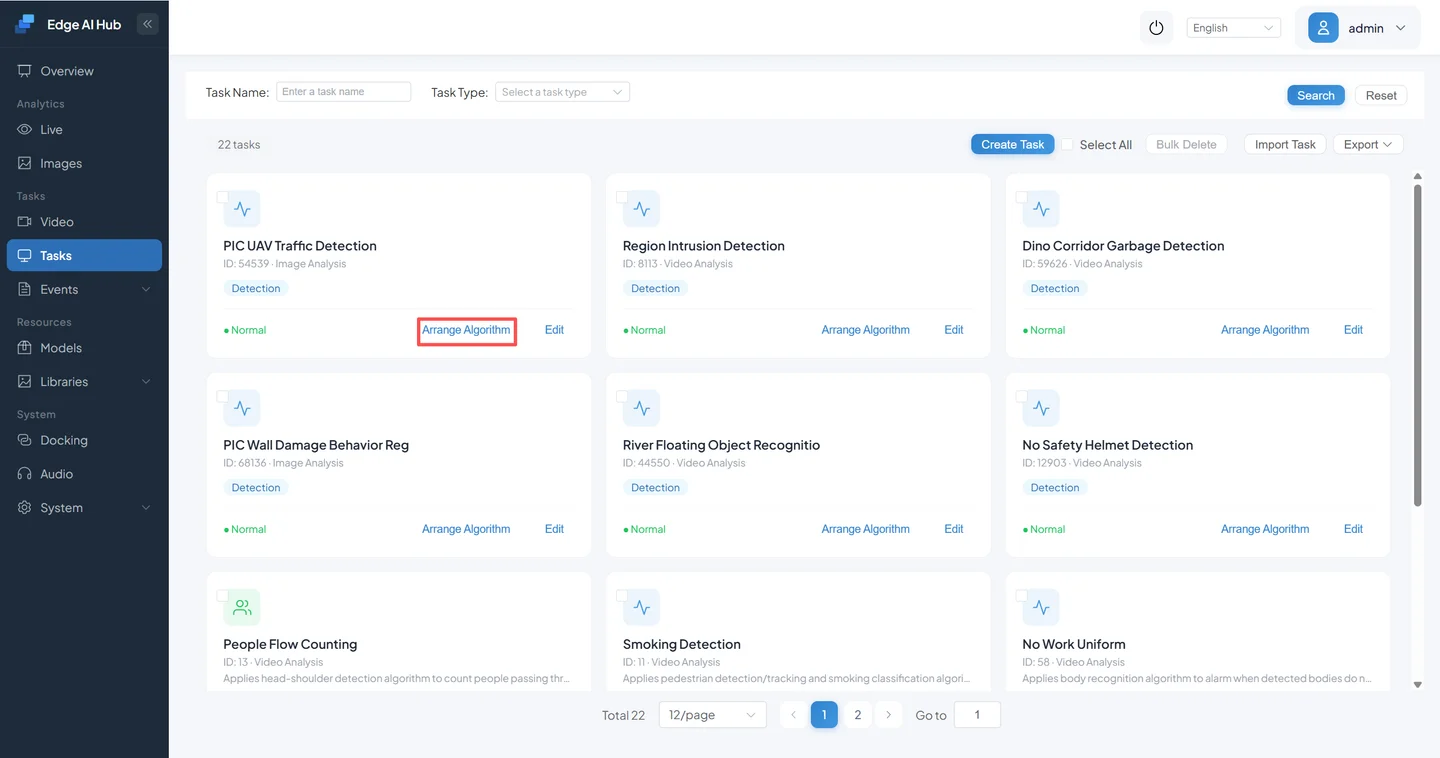
- Go to Scenario Tasks and create a new drone image detection task.


- Create the pipeline for Drone Image Detection.
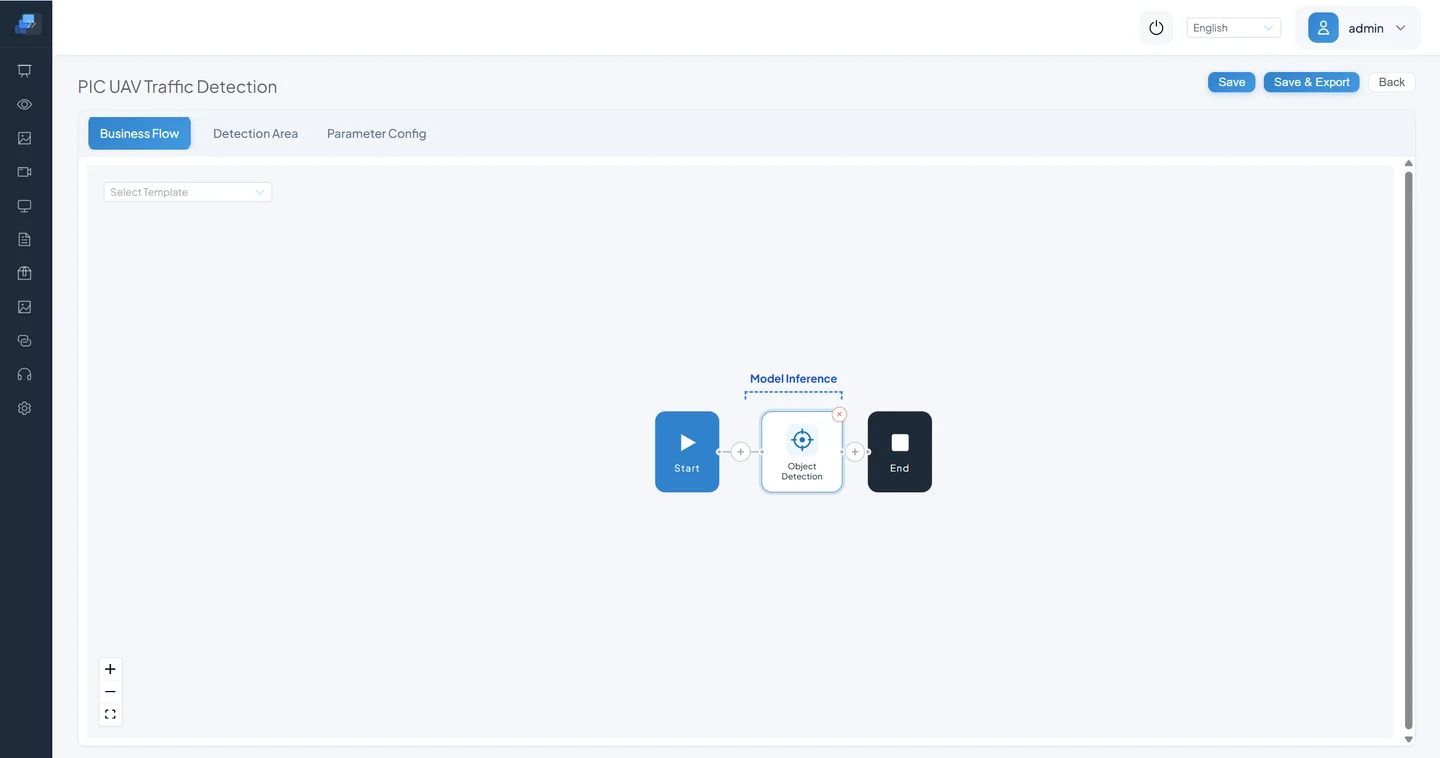
Click Pipeline Orchestration to enter the orchestration page.
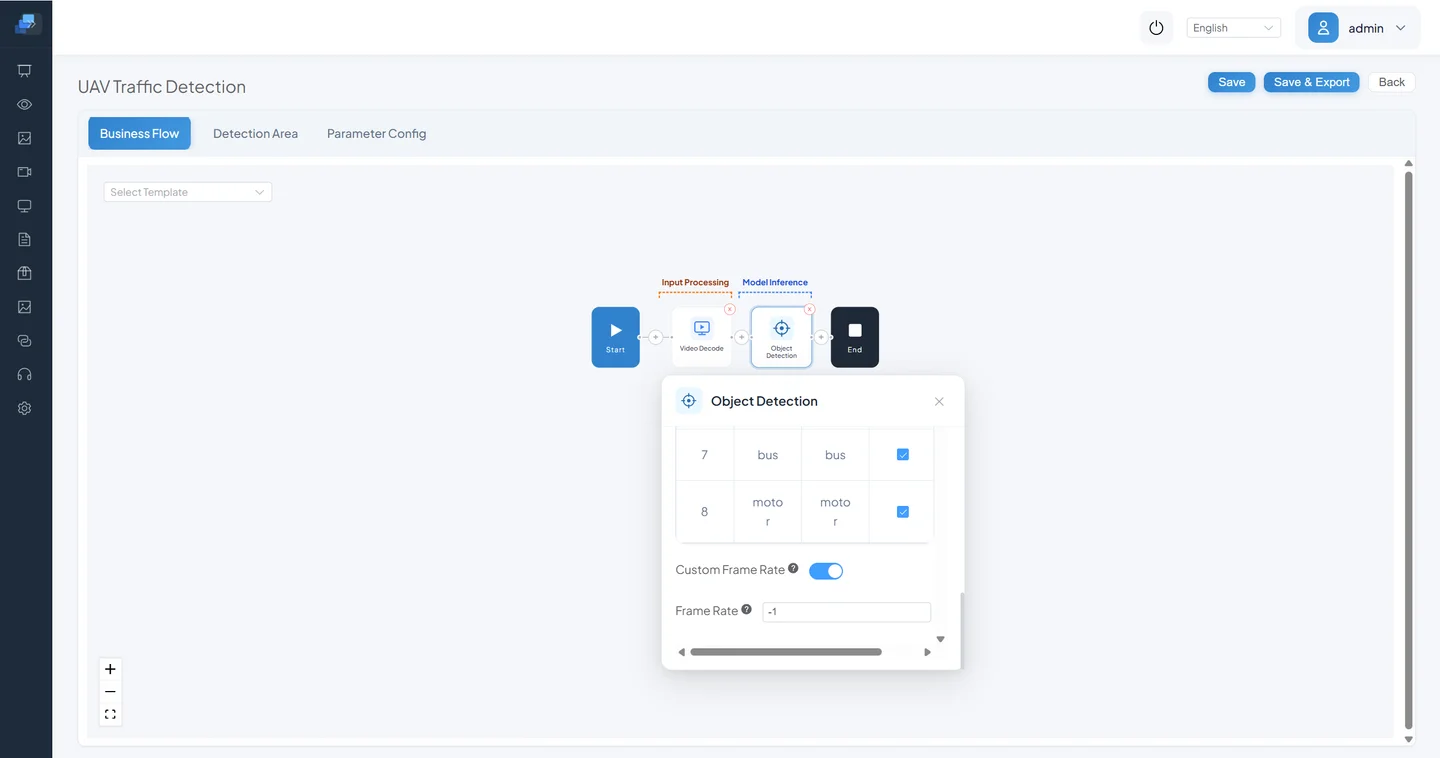
Add an Object Detection node.
Configure the business logic parameters:
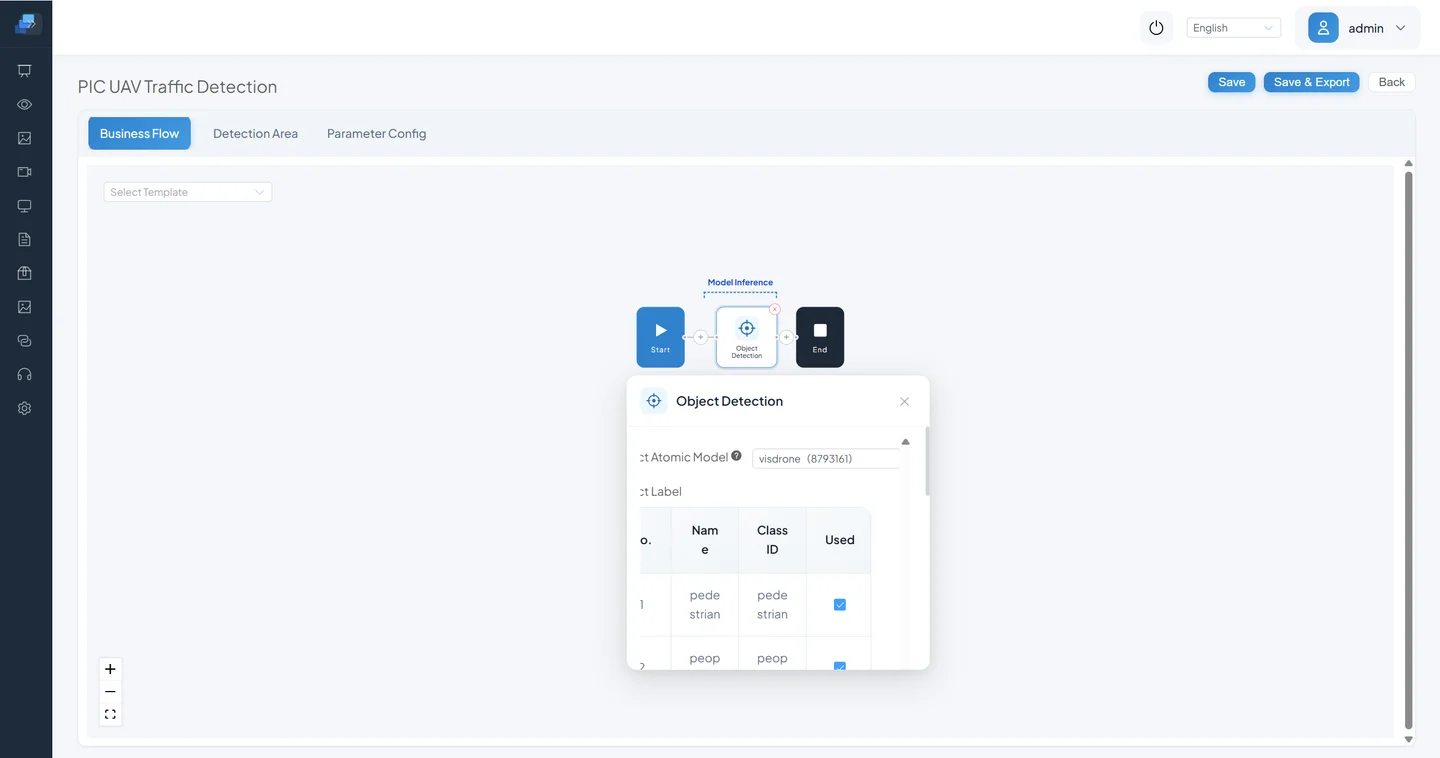
- Base Model: VisDrone Drone Detection
- Select Labels: All selected
Click Save to store the pipeline.
5.3 Image Analysis
- Select the Drone Image Detection algorithm.
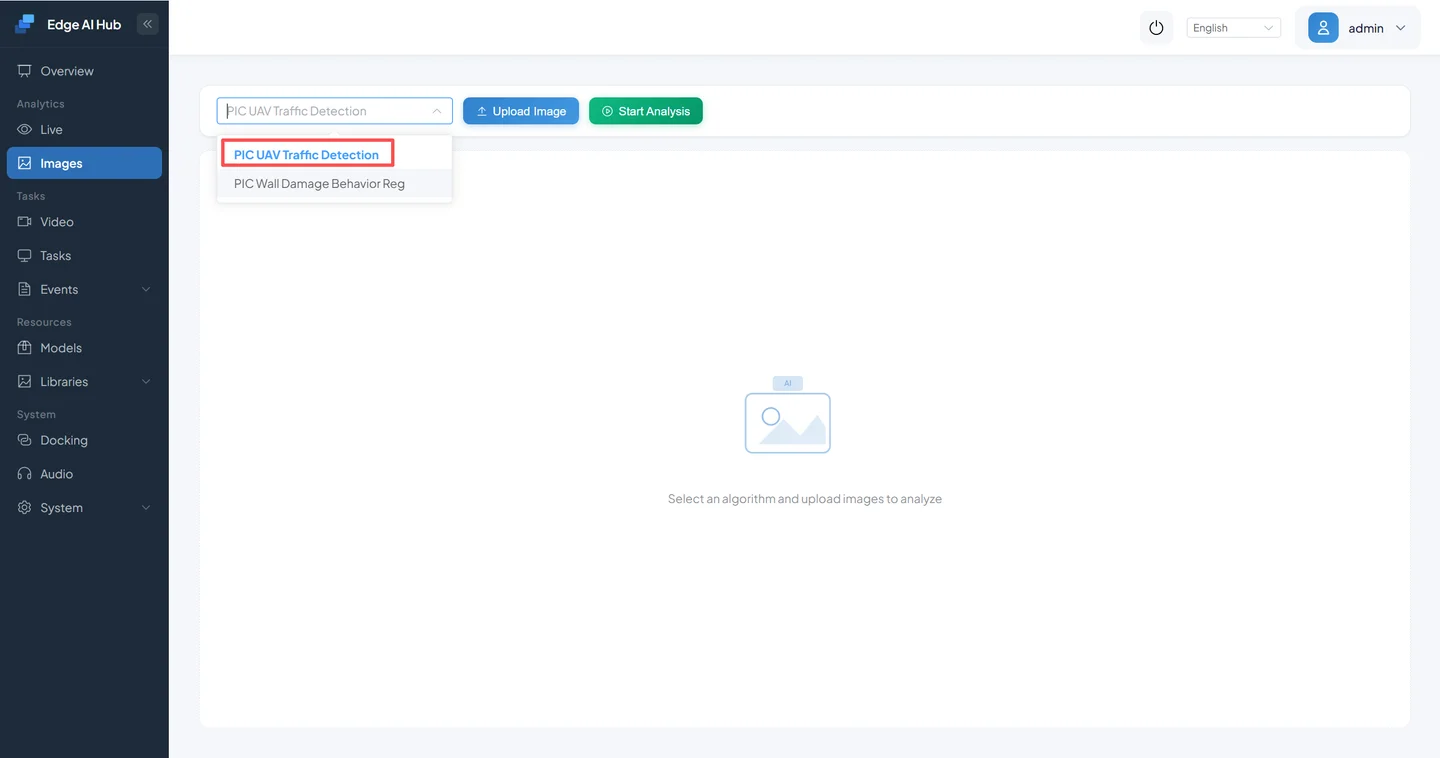
- Upload images.
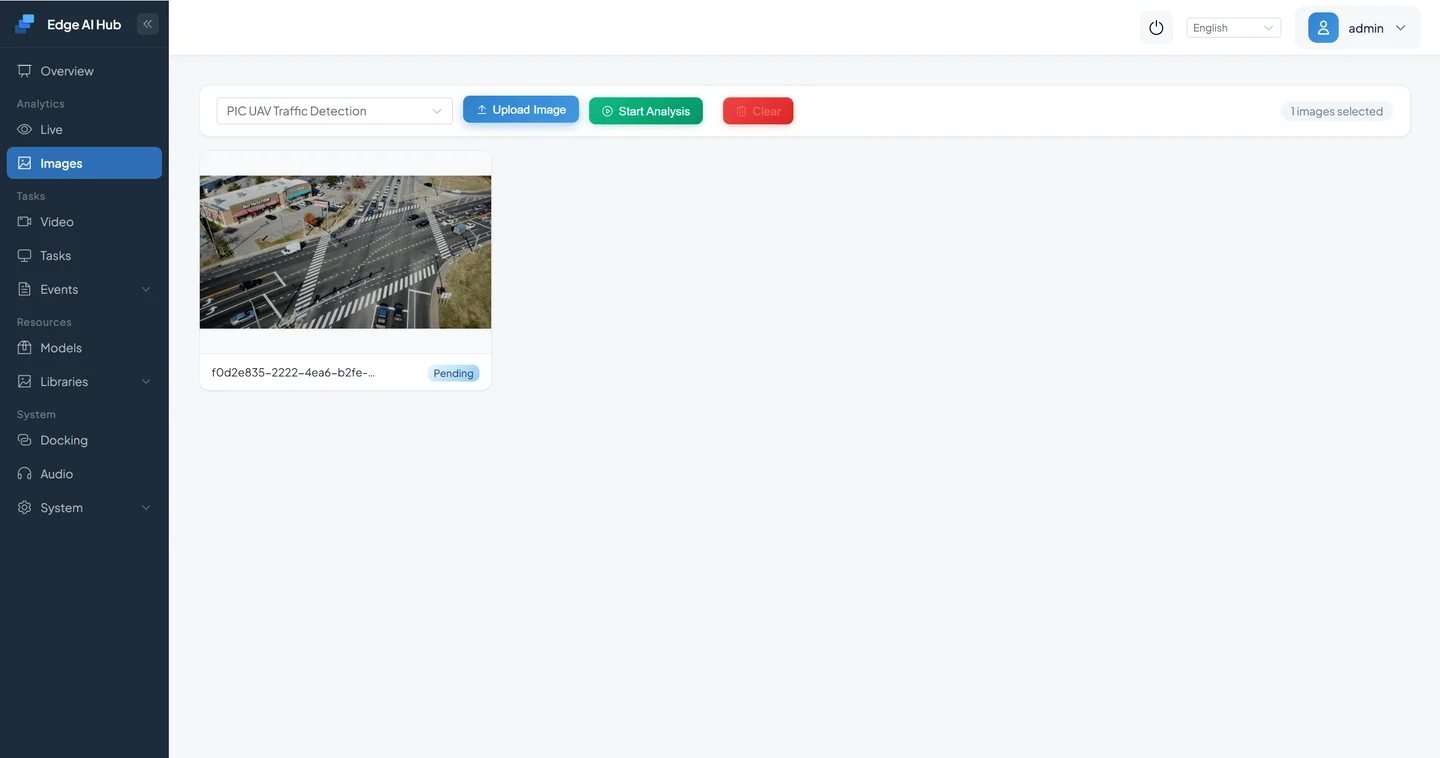
- Click Start Analysis to begin testing.
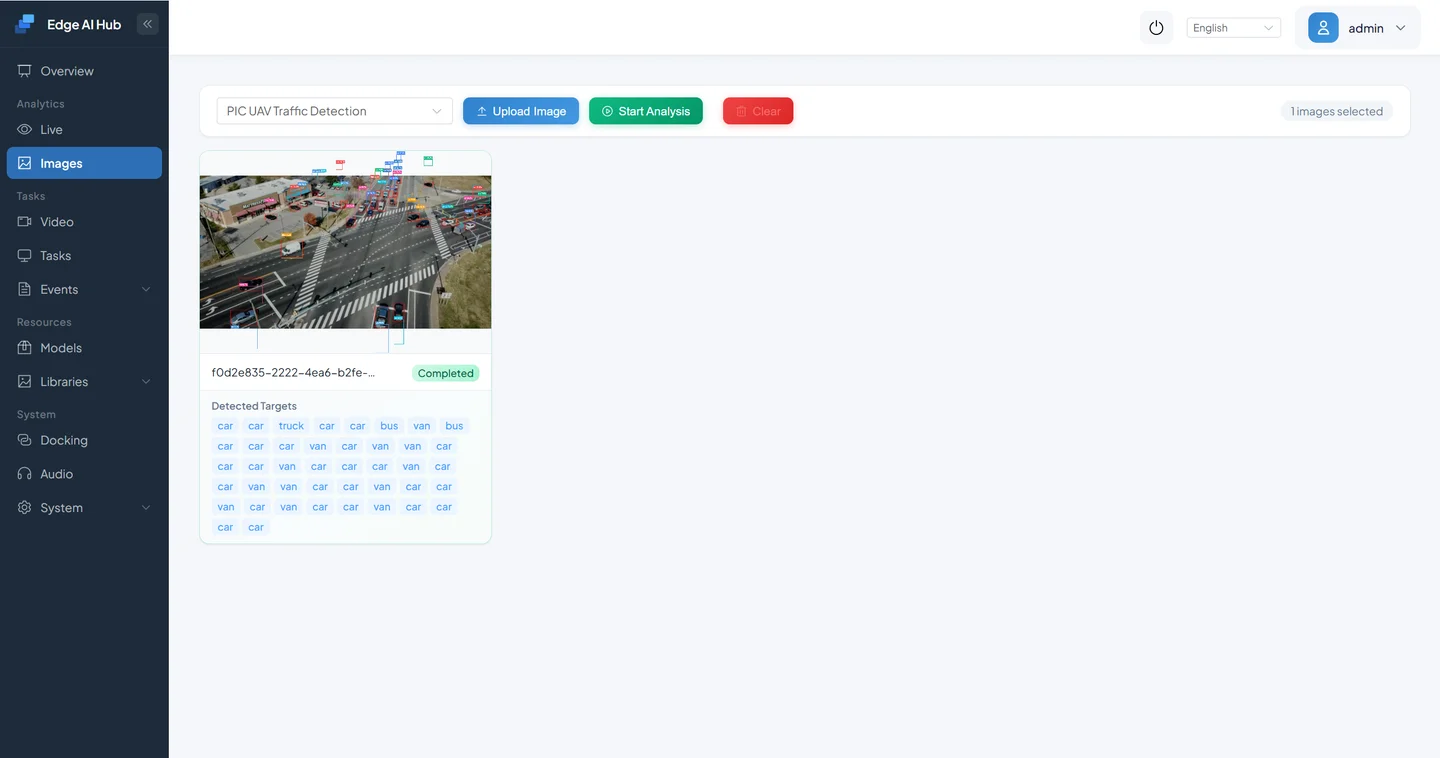
5.3 Results Analysis
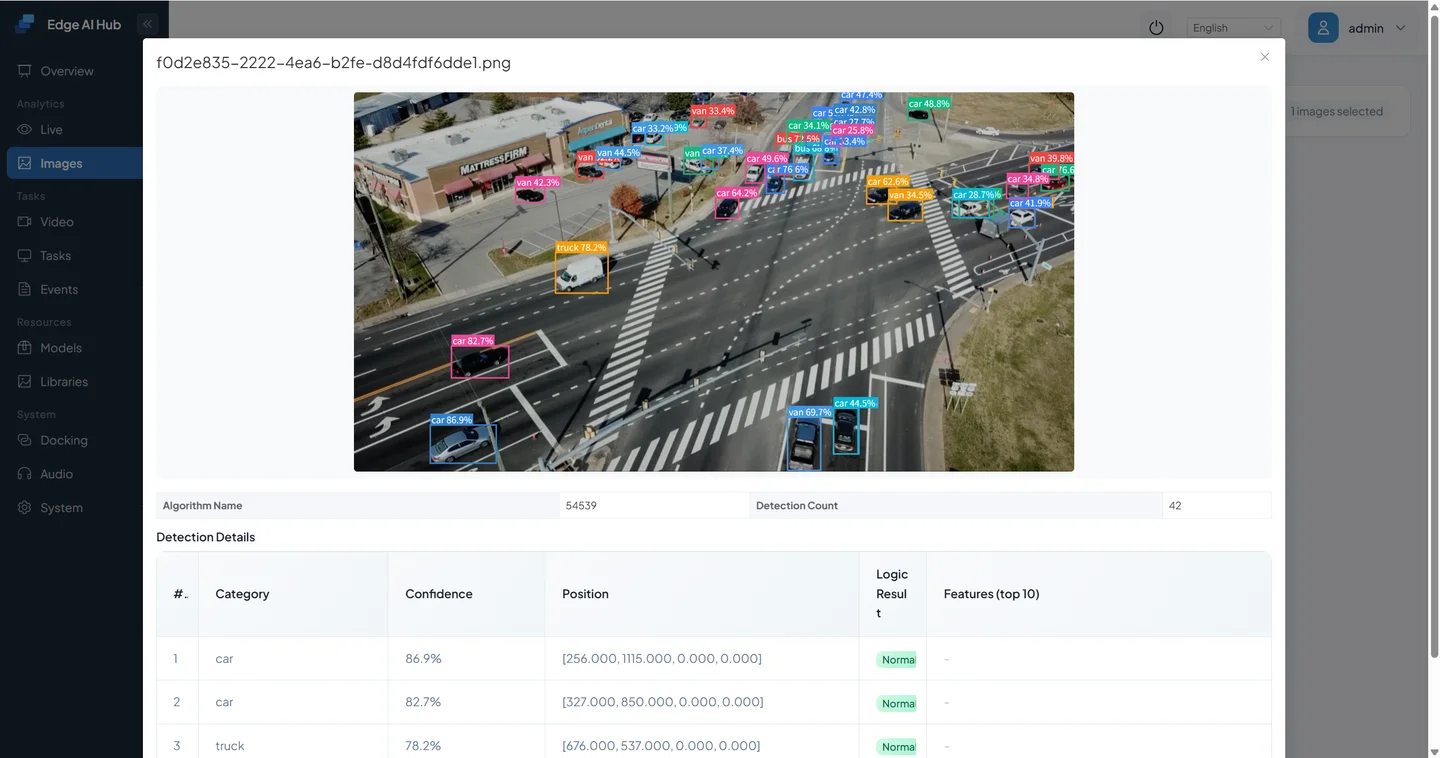
Results analysis:
- Pedestrians, vehicles, and other targets in the image are successfully detected.
- Bounding box positions are generally accurate.
- Class names display correctly — not as numbers or blank labels.
If image validation doesn't pass, don't rush into pipeline integration. Go back and check:
- Was the model file uploaded correctly?
- Do the input dimensions match?
- Are all class labels configured properly?
Chapter 6: Integrate the Third-Party Model into a Scenario Task
Now let's integrate this model into an actual business workflow.
Scenario Description
Create a new Drone Object Detection scenario task:
- Detect pedestrians and vehicles in the frame
- Generate events
- Display bounding boxes and class labels on the live feed
6.1 Create a New Algorithm
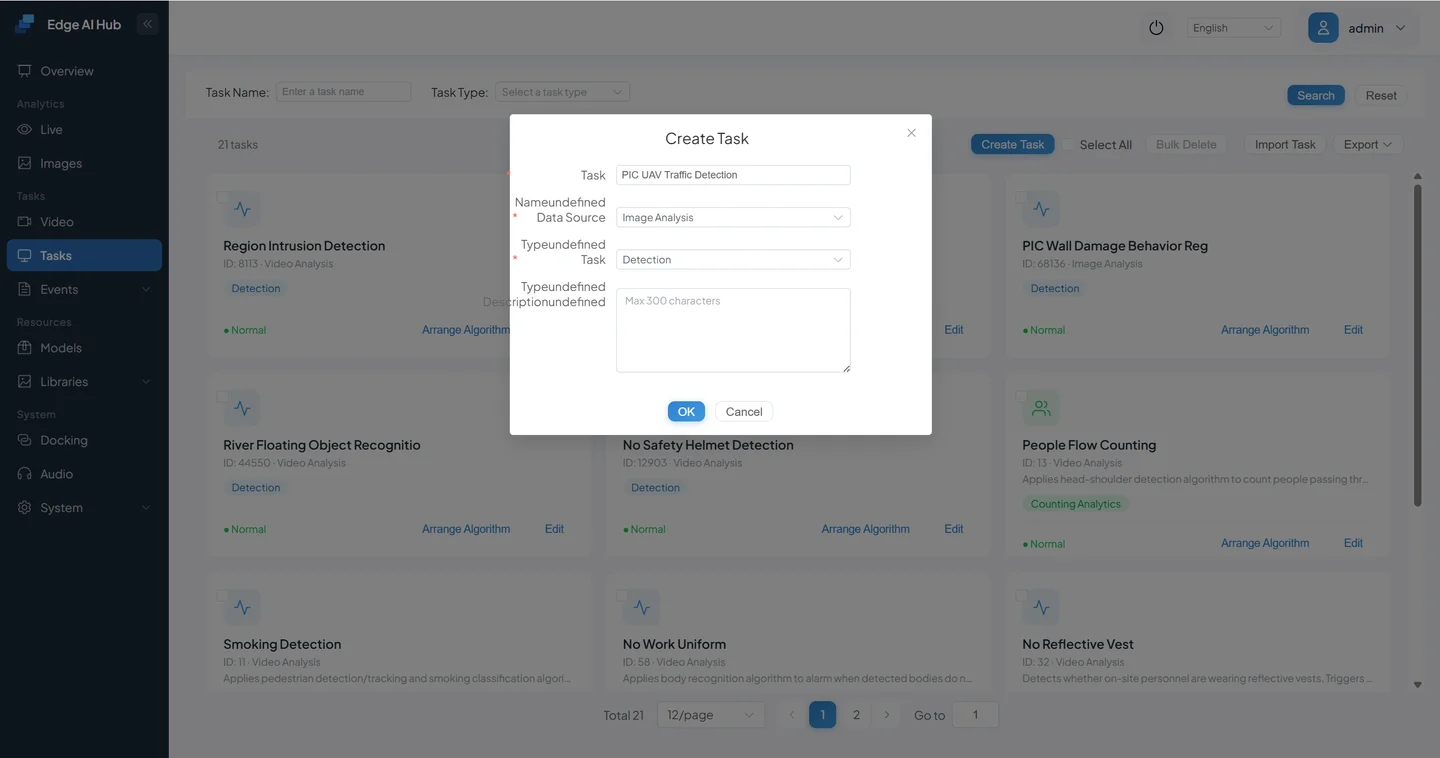
- Go to Scenario Tasks → New Task.
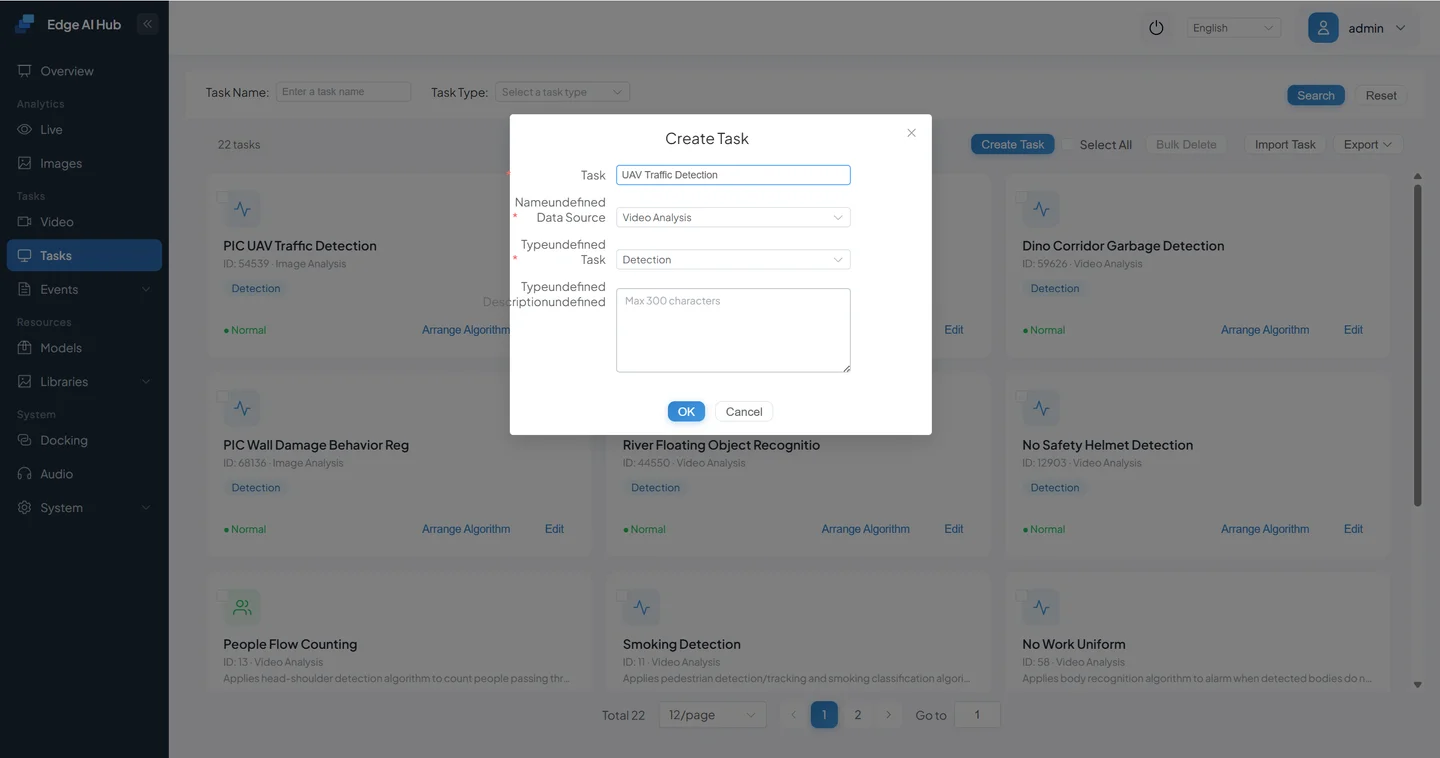
Fill in the basic information:
- Task Name: Drone Object Detection
- Data Source Type: Video Analysis
- Task Type: Detection/Analysis

6.2 Build the Minimum Viable Pipeline
Add nodes in this order:
Video Decode → Object Detection (third-party model) → Object Tracking → Region Alarm Judgment → Event Reporting- Click Pipeline Orchestration to enter the orchestration page.
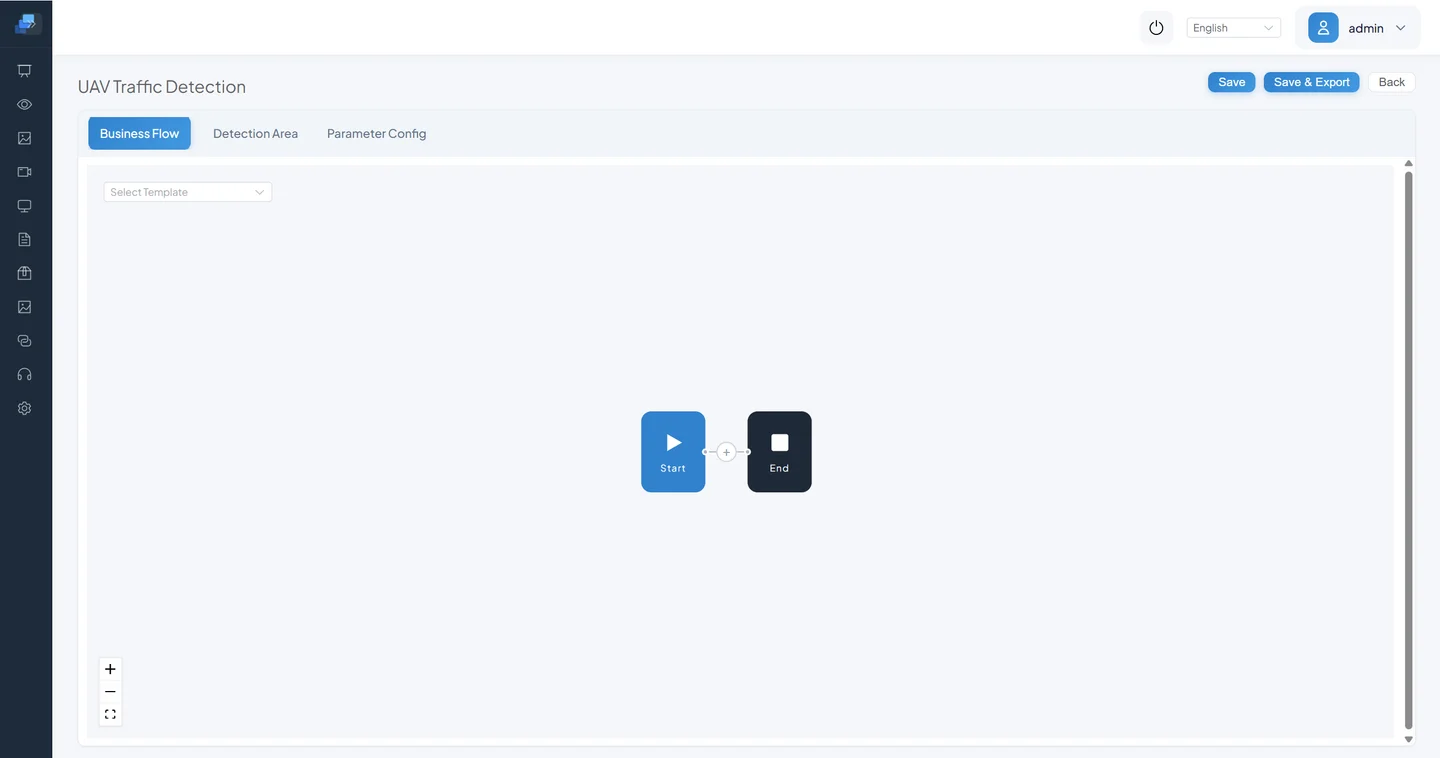
- Add the orchestration logic:
Step 1: Add Video Decode.
Step 2: Add Object Detection.
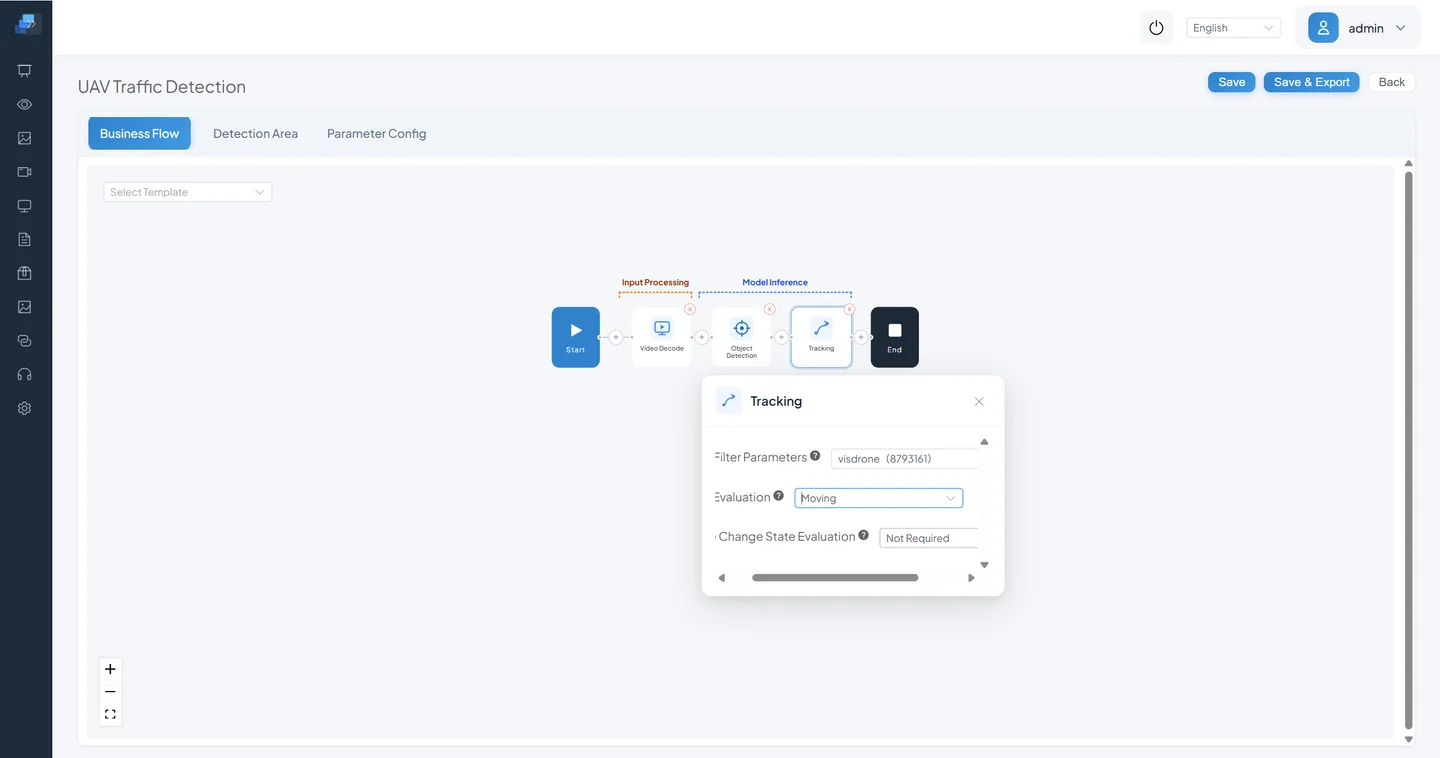
Step 3: Add Object Tracking.
Step 4: Add Region Alarm Judgment.
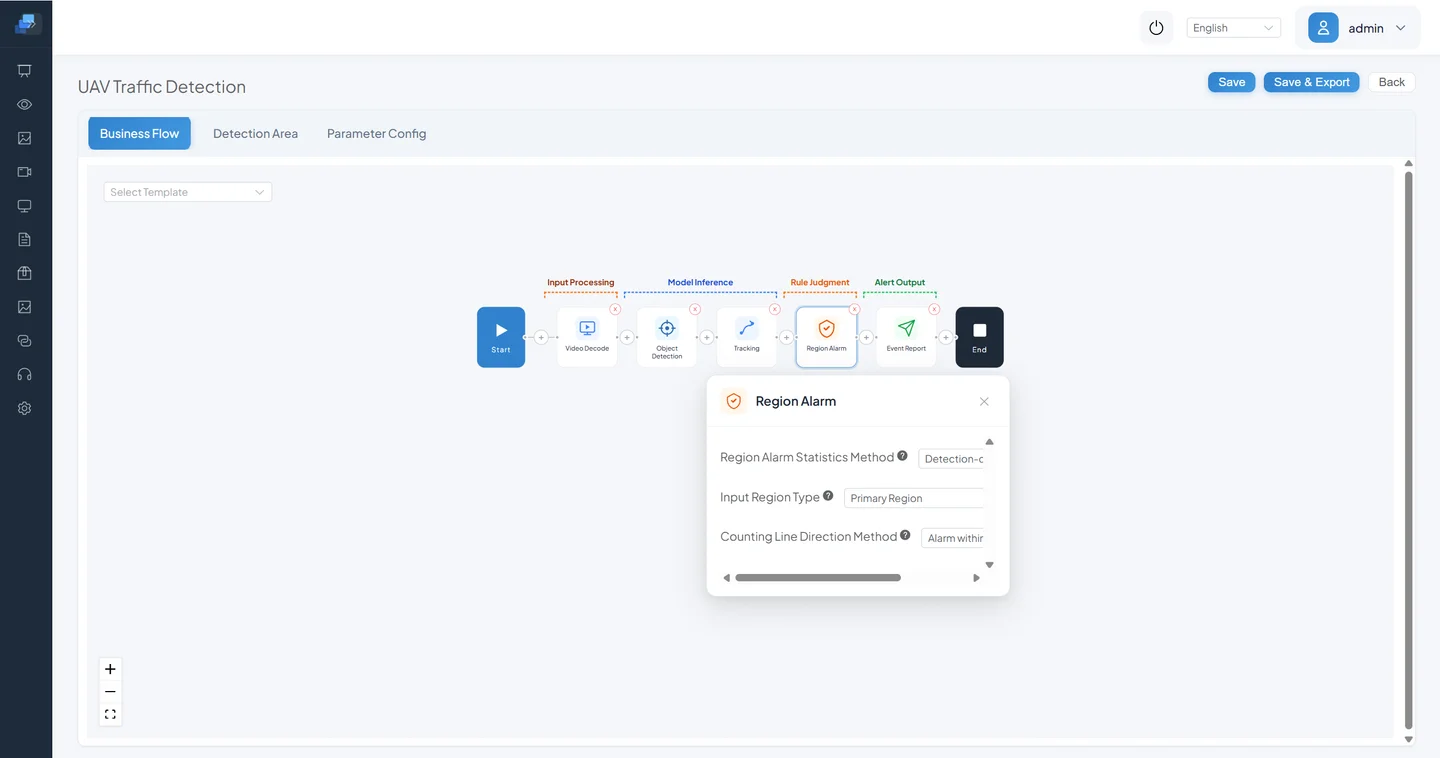
Step 5: Add Event Reporting.
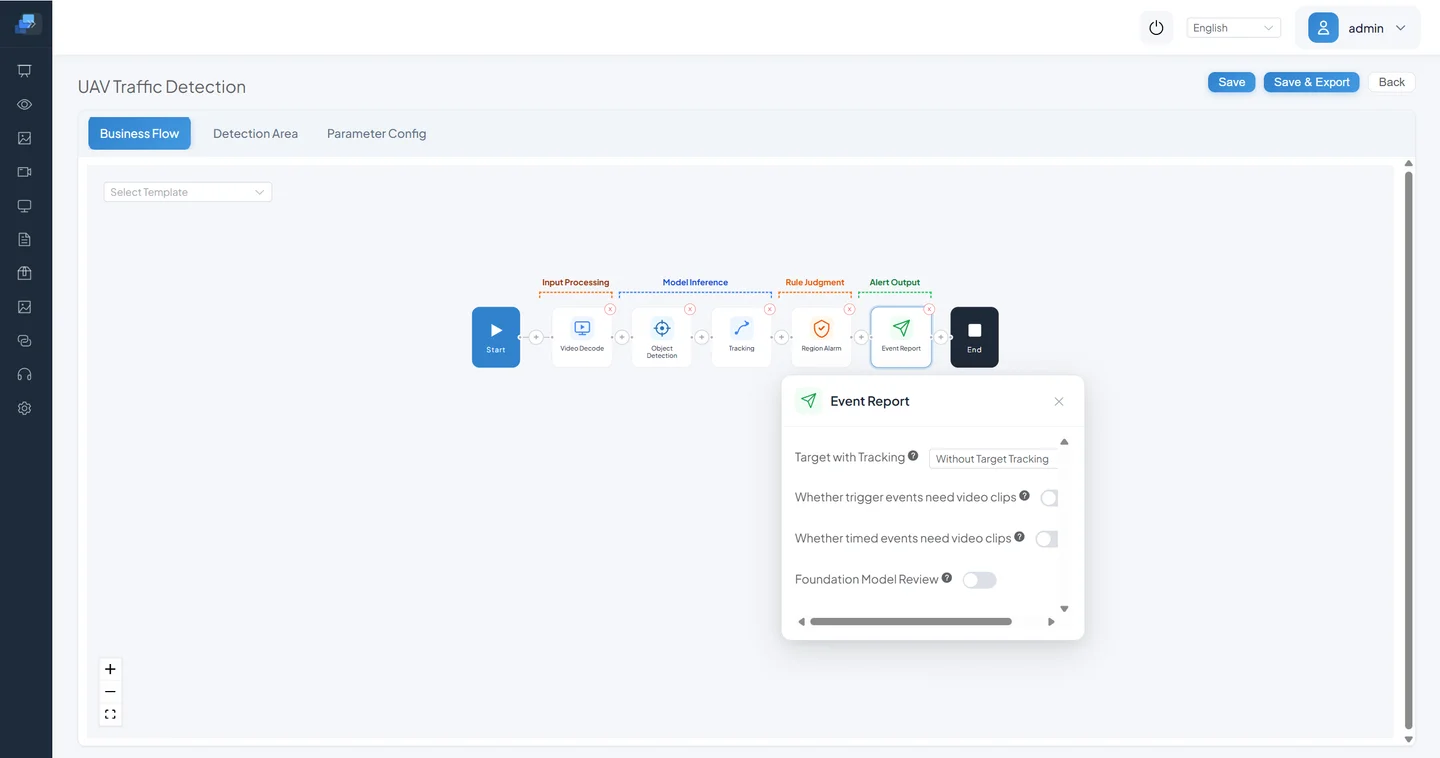
- Configure parameters
- Click Save to store the pipeline.
Chapter 7: End-to-End Verification
7.1 Create a Video Source
- Prepare a drone-perspective test video.
- Go to Video Sources and add a video channel.
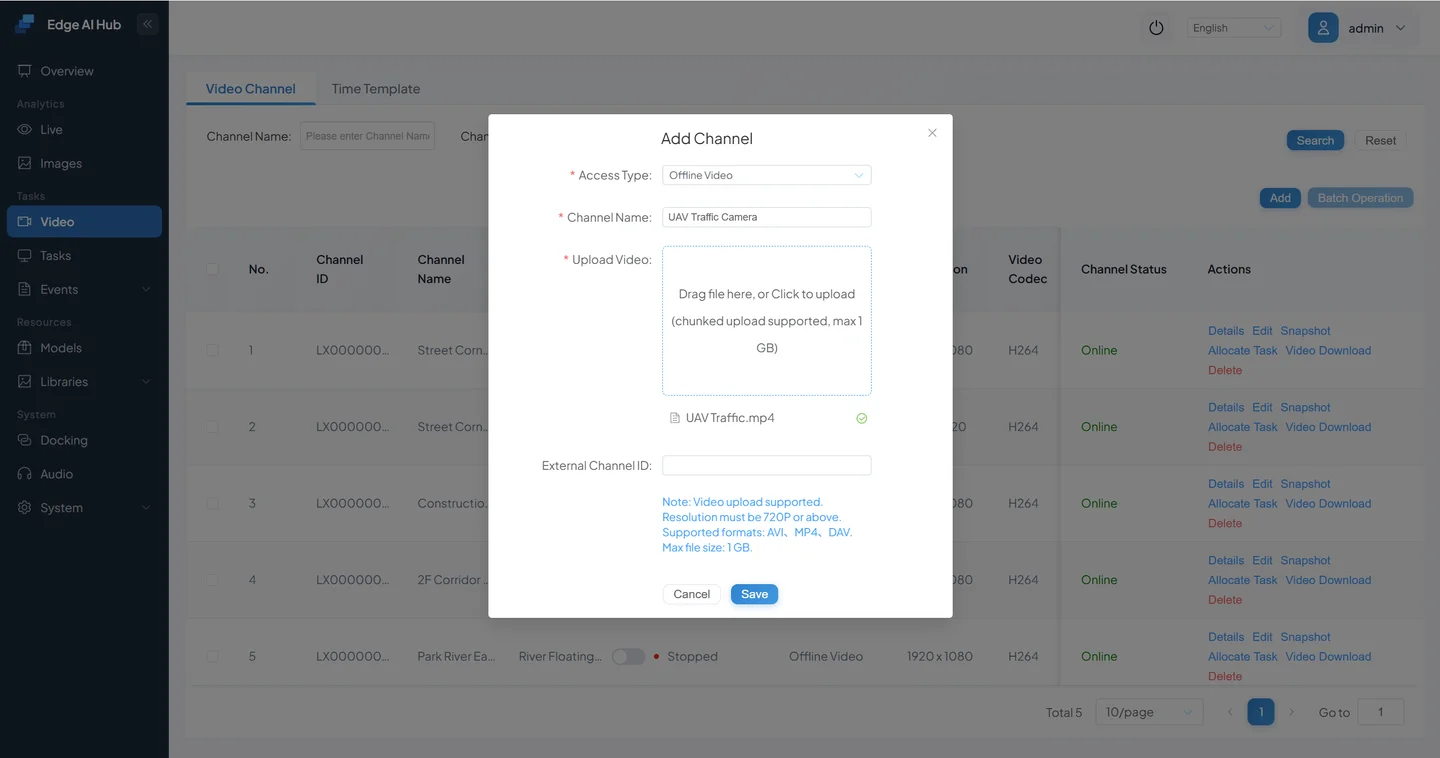
Parameters:
- Source Type: Offline Video
- Channel Name: Drone Camera
- Upload Video: drone.mp4
- Configure Service Assignment.
Click Service Assignment to open the configuration page.
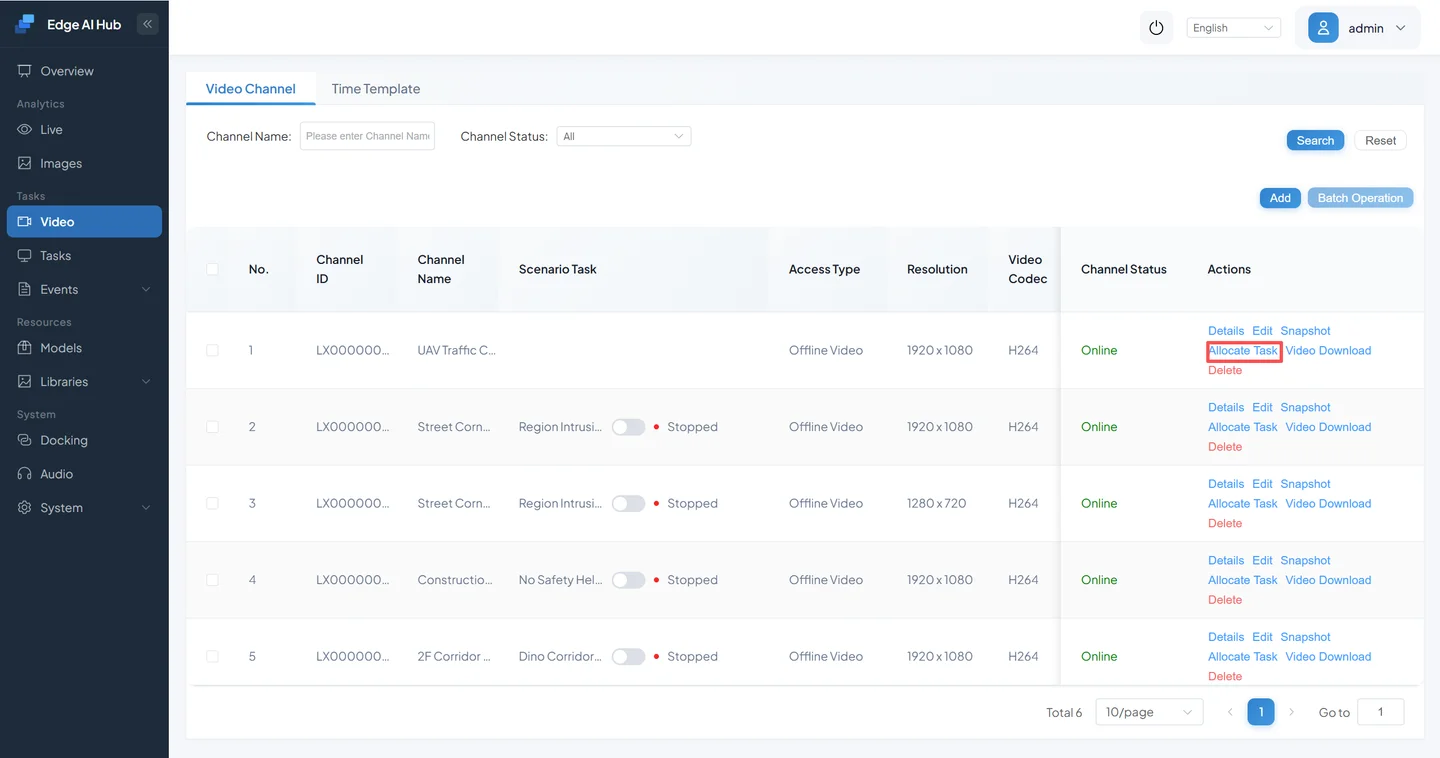
Select Drone Object Detection as the scenario task.
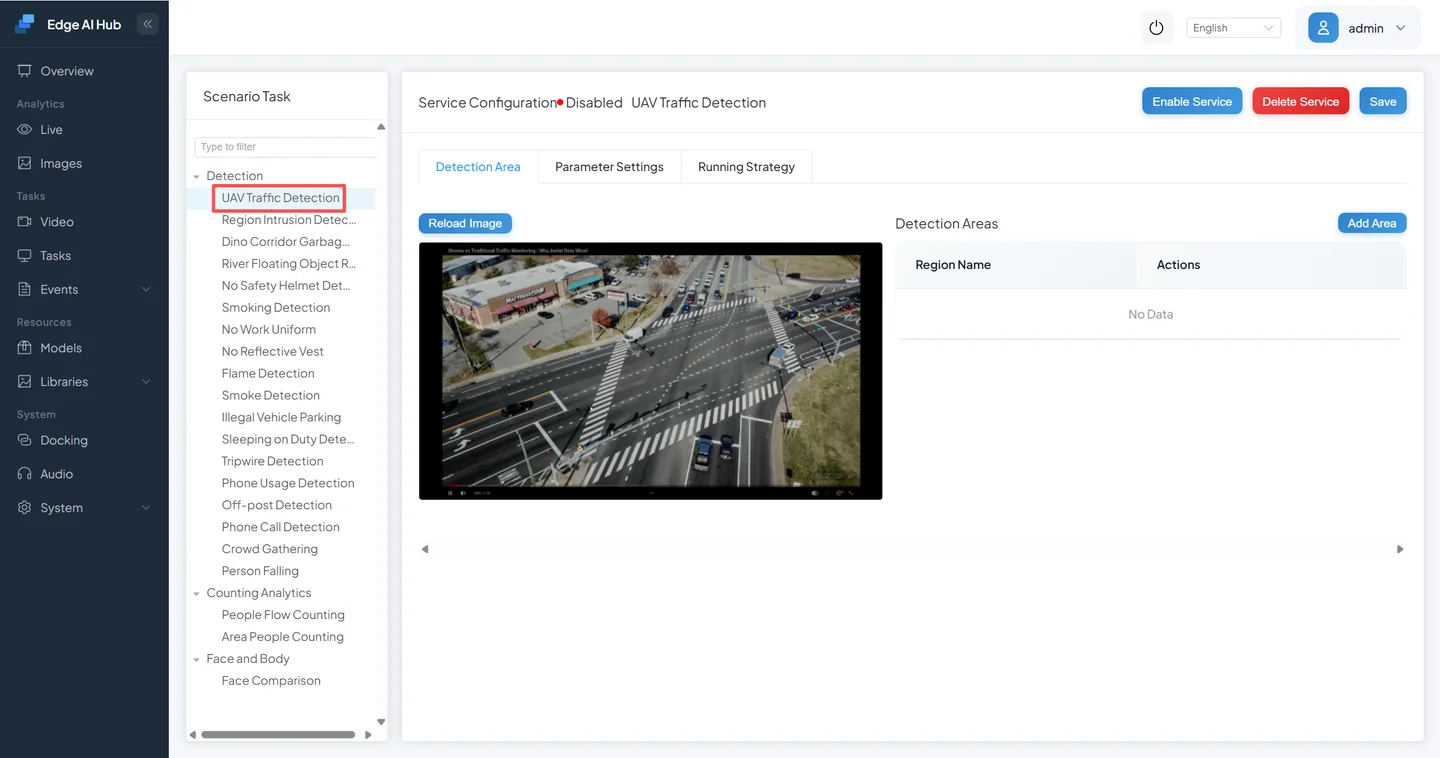
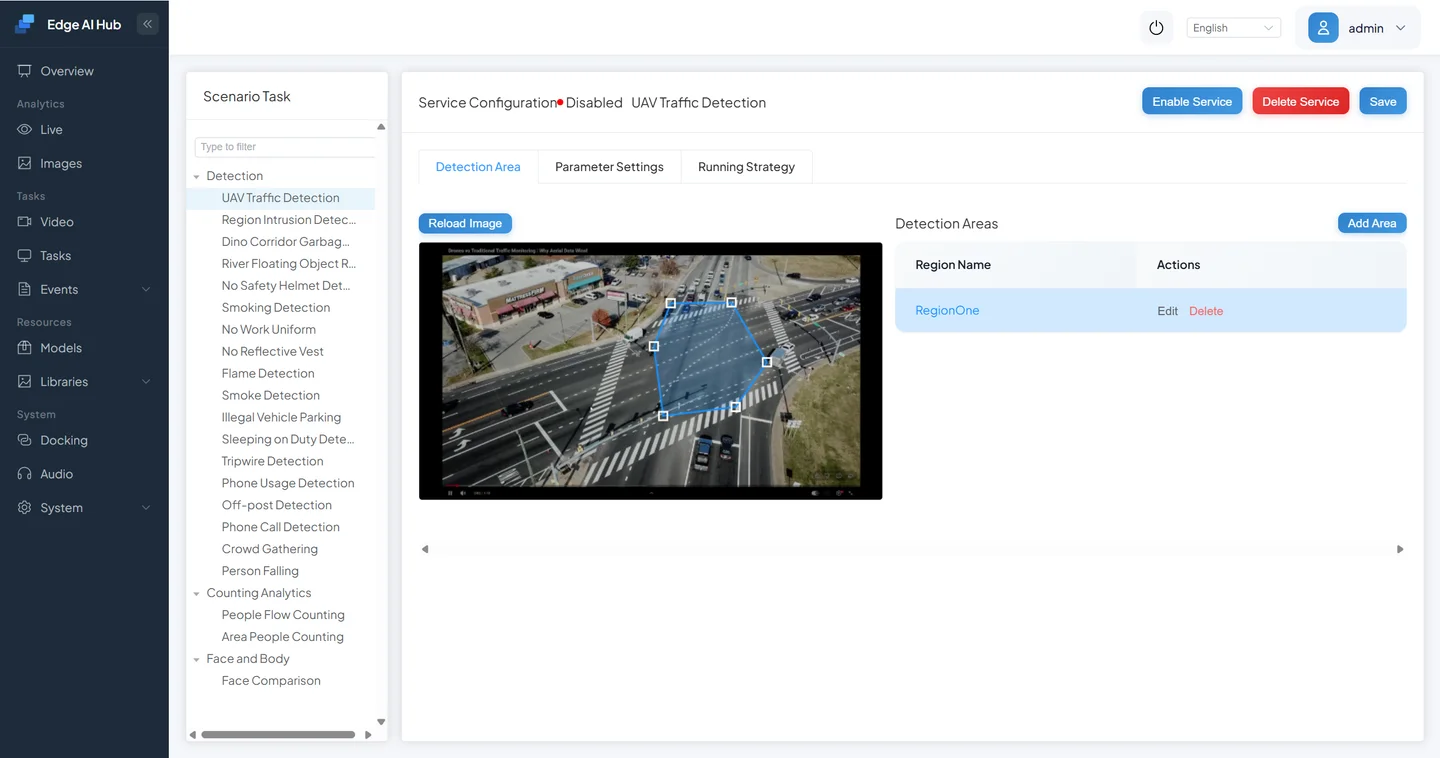
Add a detection region.
Configure Runtime Strategy — set play count to 0.
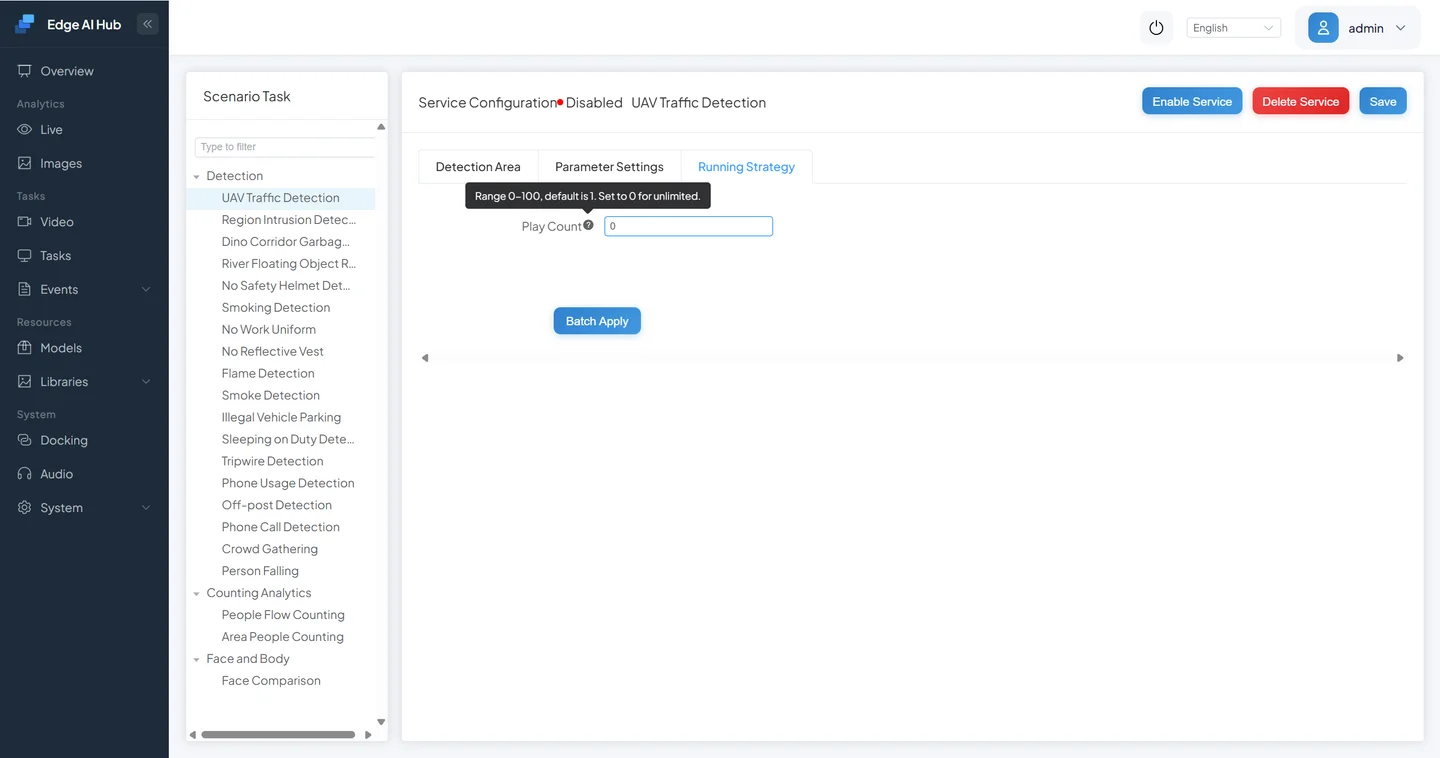
Click Save to save and start.
7.2 Check the Live Preview
Go to Live Preview and select the Drone Camera channel.
Enable the algorithm overlay: Drone Object Detection.
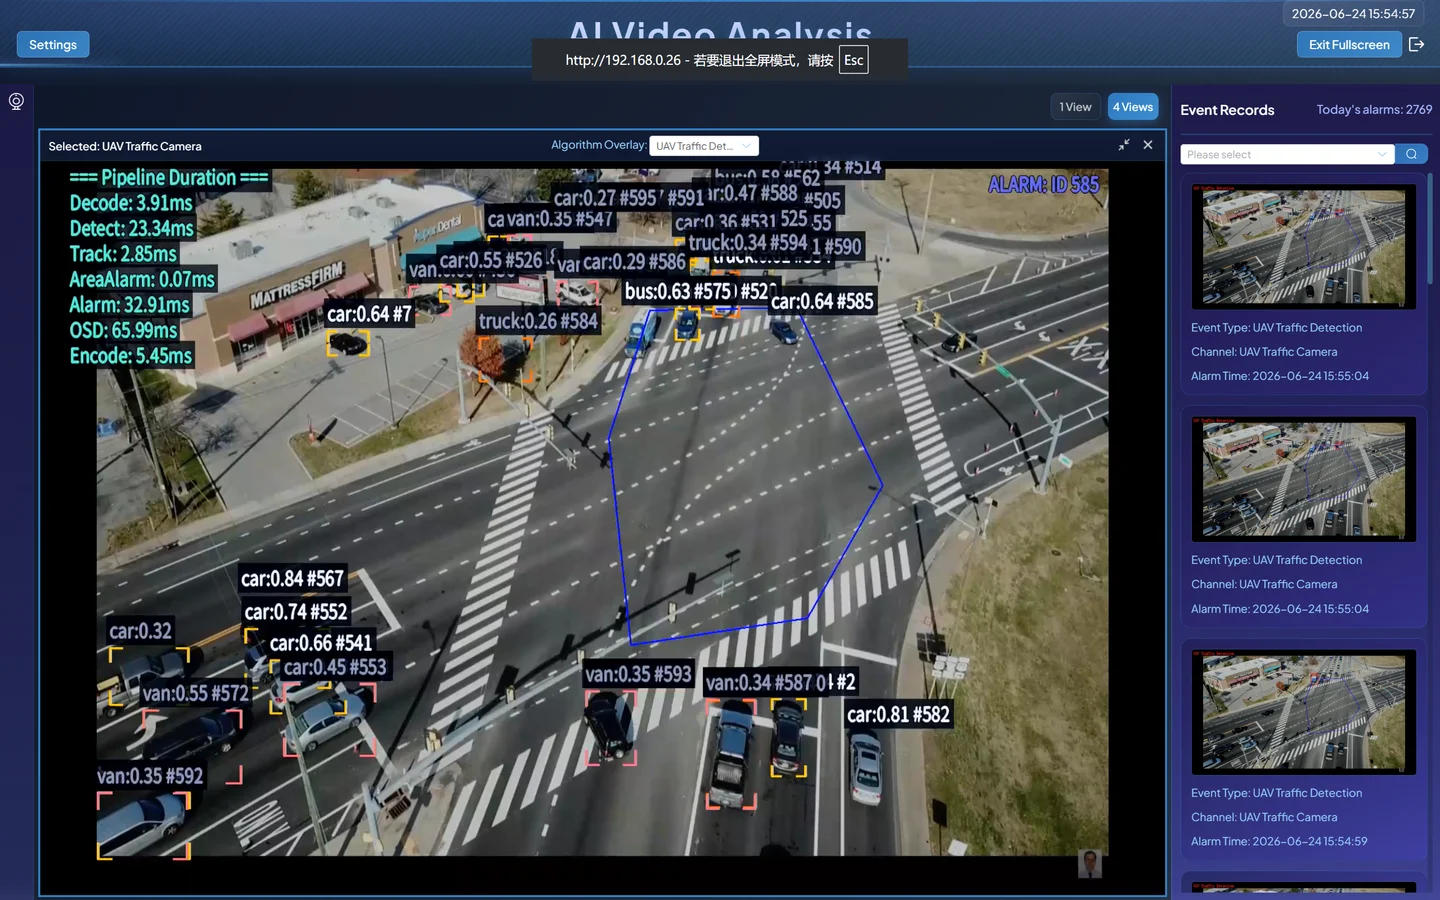
Alarm popup:
Verify:
- Bounding boxes appear in the frame.
- Class labels display correctly.
- Different targets maintain consistent tracking.
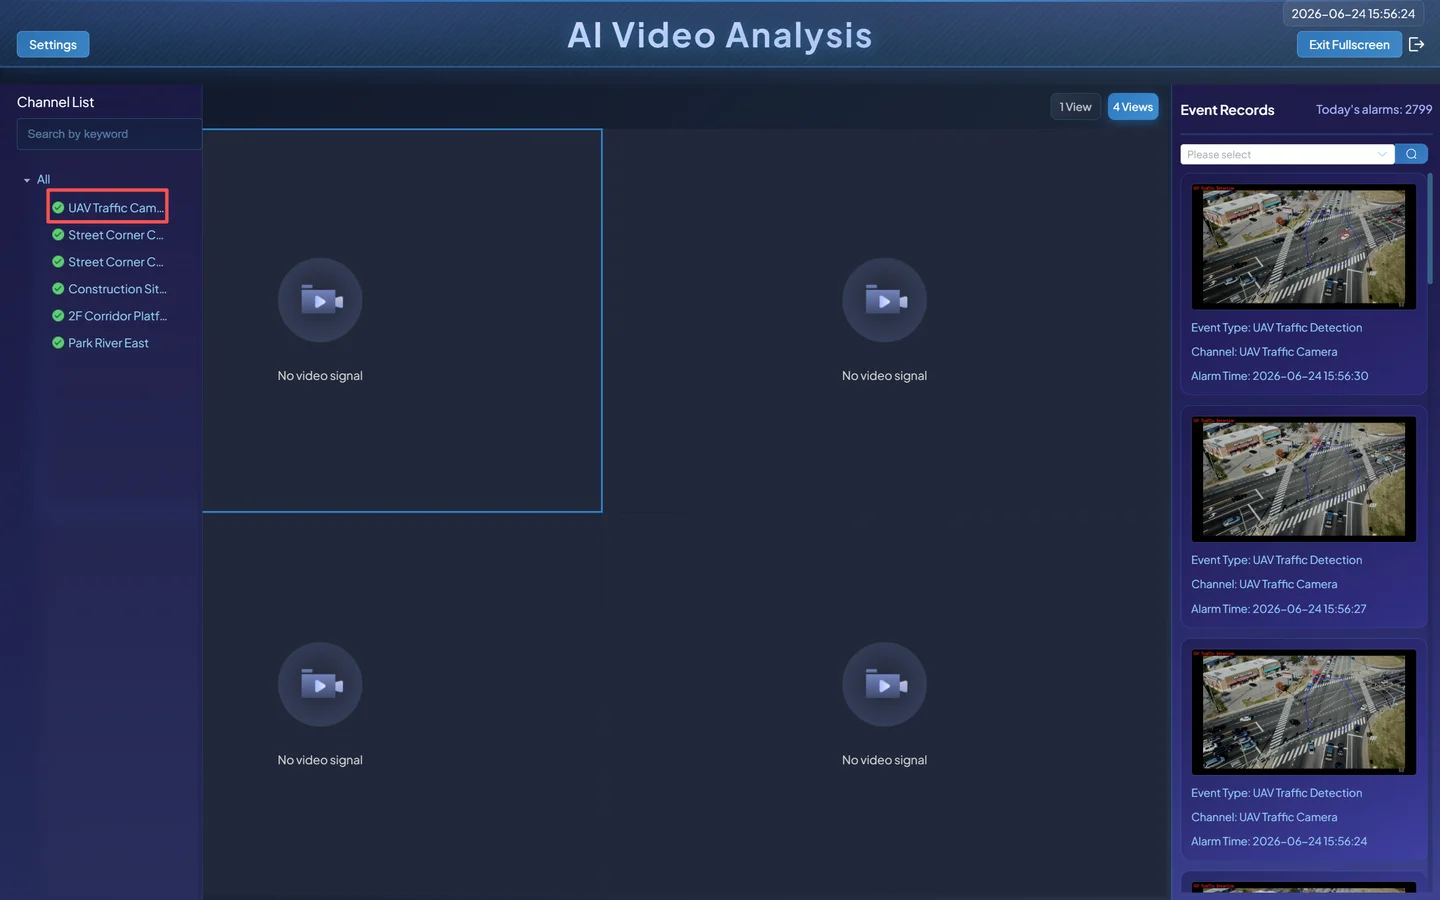
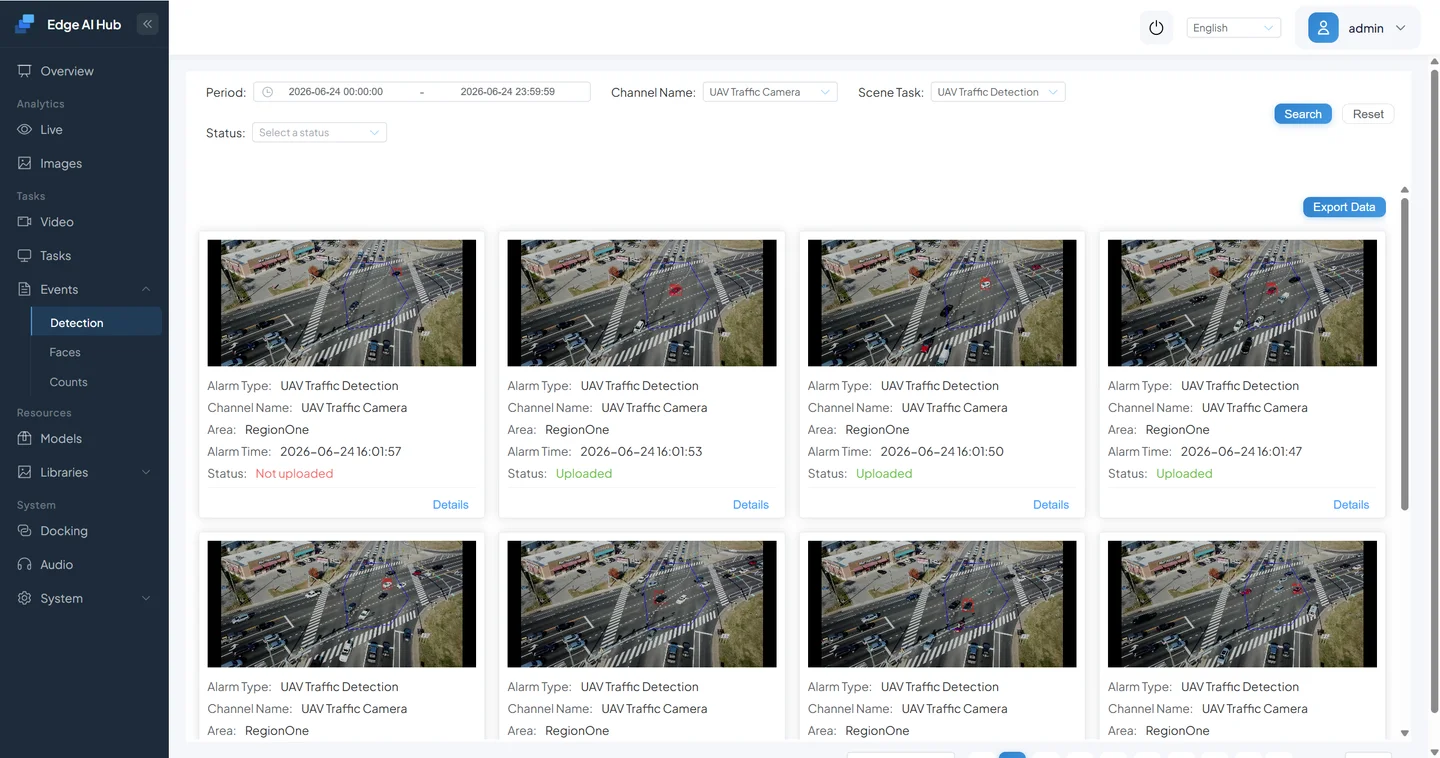
7.3 Check Alarm Records
Go to Event Center → Detection/Analysis to review alarm event records.

Results analysis: Alarm events are recorded normally, confirming the pipeline is working correctly.
7.4 Success Criteria
If all three of the following are true, your third-party model porting is complete:
- Image testing produces correct results.
- The scenario task starts successfully.
- Both live preview and alarm records show expected output.
Appendix
A. Common Issues and Troubleshooting
| Problem | Possible Cause | Solution |
|---|---|---|
| Model uploaded but no detections | Input dimensions configured incorrectly | Verify model metadata matches conversion parameters |
| Classes show as numbers | Class labels not configured | Add the label mapping in Model Repository |
| Scenario task starts but no bounding boxes | Missing OSD overlay node | Add an OSD overlay at the end of the pipeline |
| Image testing works but video results are poor | Test video distribution differs significantly from training data | Try a video that better matches the model's training domain |
| Service fails to start | Nodes not properly connected or model type mismatch | Check pipeline structure and model type settings |
What's Next
After completing all five volumes, you now have a complete capability chain:
Device setup
  ↓
Configure built-in scenarios
  ↓
Define large model rules
  ↓
Orchestrate business pipelines
  ↓
Port third-party models
This means you can:
- Rapidly deploy scenarios using built-in capabilities
- Fill long-tail gaps with VLM / DINO
- Organize capabilities into business workflows through orchestration
- Bring your own models into the system